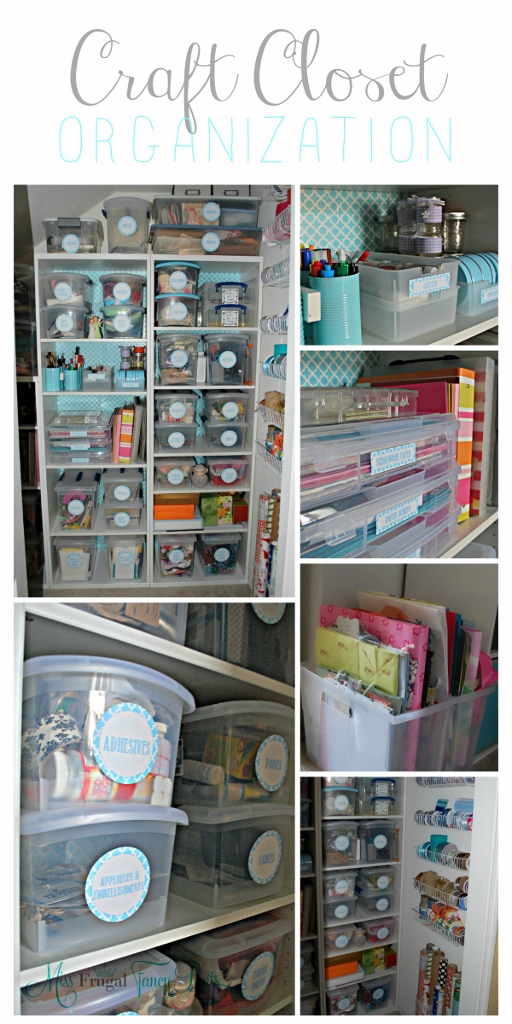
 My craft closet. Loud sigh. Loud. The only space I have in my entire home has been reduced to a closet. A closet. As a quasi hoarding, shopaholic, this does not work for me. At. All.
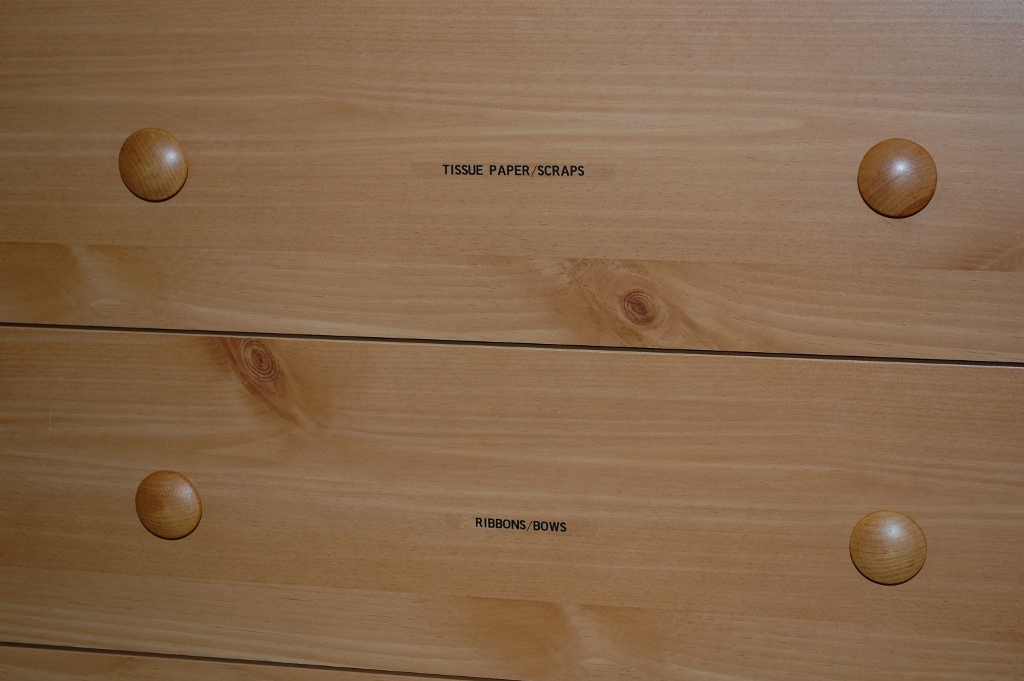
Before kids and a husband (who took over my guest room/office/craft storage area), this same craft closet was somewhat tidy. I’d come up with a few ingenious storage ideas to utilize random old stuff, like a crazy cheap (err…ugly…) old dresser to hold tissue paper and scrap ribbons. My favorite idea was flipping Closetmaid hanging shelves upside down to hold wrapping paper. All of my thrifty ideas worked fairly well and when I was being a tidy person, looked borderline organized.
The day came when I had to cram all of my stuff into that same closet. (Which is what you are looking at in these before photos.) I had extra work stuff, office supplies, tons of random unfinished projects (something I’m famous for…like my now 10 year old daughter’s 1st year scrapbook. Still not done.) and a plethora of random items.
And to make matters worse, all of a sudden, a new onslaught of craft stuff was flying in at record speed as I catapulted into a new realm of Martha wannabe after the birth of my second child and my attempt to also give her all things Martha.
In a nutshell, I had acquired a LOT of random stuff but the hodge podge of make-do organizing tools, while smart on their own, simply were not working together.
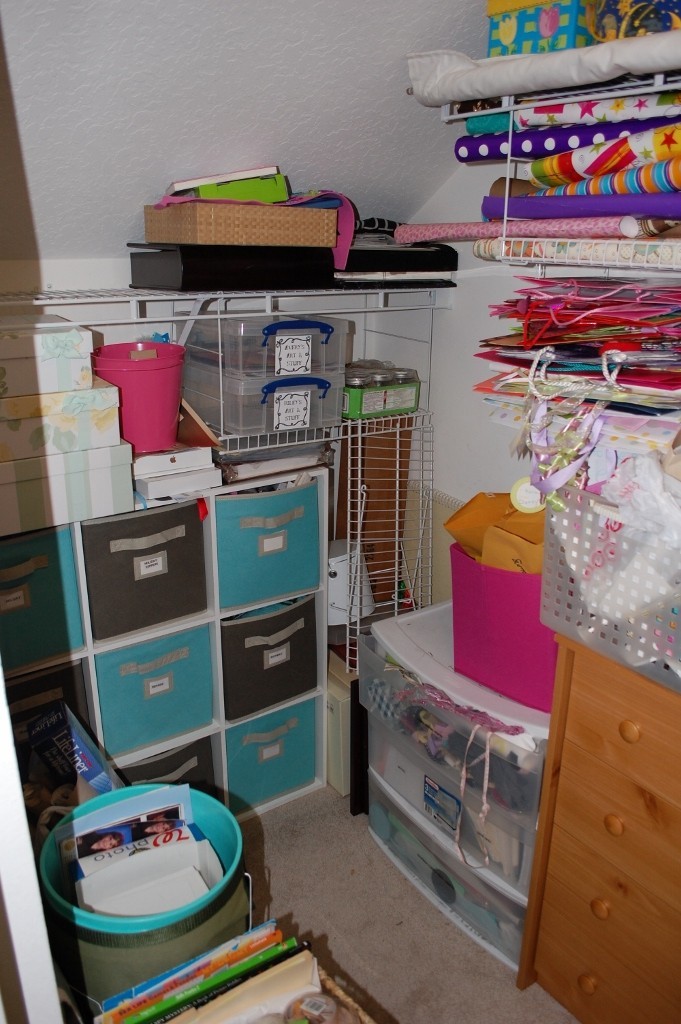
This closet was most often covered in a pile of stuff in the middle of the floor because I couldn’t get to the area the item belonged when I was mid-project. I’d take 3 bins down from the top of the closet and decide not to put them back until I was done with everything because it was “stupid” to keep lifting and bending (I have a bad back). When I needed something else, I had to trip over the bins/pile on the floor to NOT be able to pull out a drawer (or access a bin), get ticked off, kick the pile to the side, topple something over, grab what I needed and slam the door shut in frustration. It was quite productive…ahem.
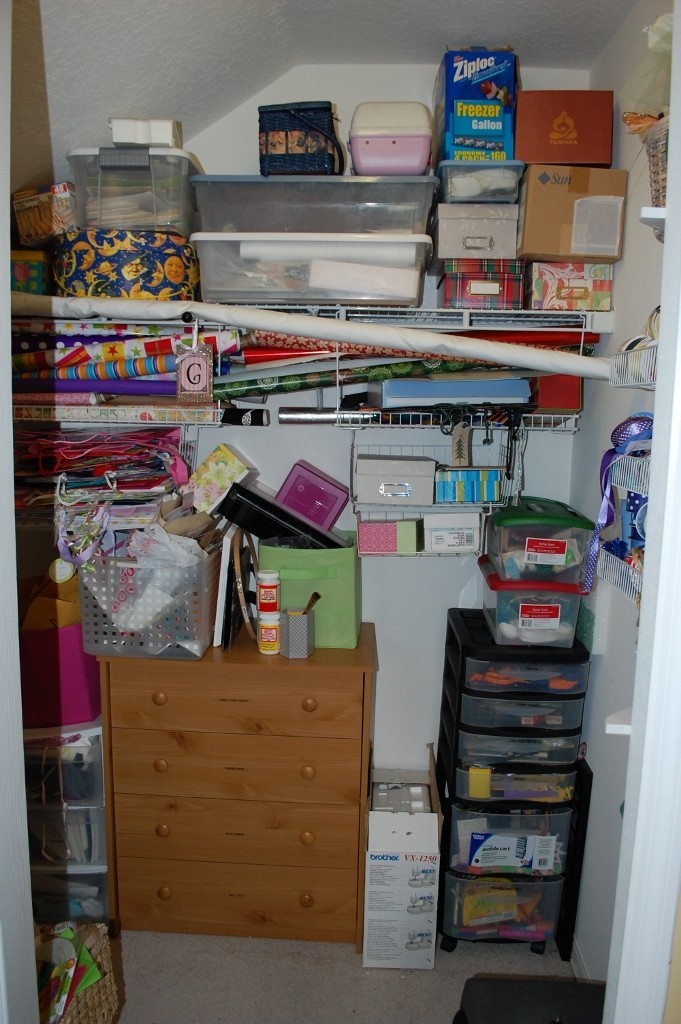
Before
Whatever project I was working on might be finished and upon entering the closet to put everything away, I was quickly reminded of the giant mess I’d made so I’d throw everything on top of that same pile, slam the door again and run away. And vow to never buy anything again or to ever craft again. (The photo above is actually a “tidy” before shot, believe it or not.)
After years of this, I’d had enough. I was clearly lying to myself that I’d stop buying fun stuff or stop doing ridiculous crafts so it was time to get serious. Despite being on a super tight budget, my husband couldn’t have agreed more with my decision. I’m pretty sure I actually heard him think about taking a second job just to pay for this mess to be fixed. Seriously.
And so I looked and thought. Searched Pinterest high and low. Tried to think out of the box and after a few back and forth ideas, settled on a plan.
I ripped out the current closet shelving since it was useless. I did have a few existing components that I wanted to keep but I thought long and hard about their ability to co-exist with the new stuff. The cheap route (translation: not wanting to spend money on proper storage) is partly to blame for this mess in the first place.
I replaced the main wall with Ikea’s Besta bookcases. I had big plans to use Billy bookcases in stair stepping sizes (the closet has annoying sloping ceilings) but they had discontinued the deeper versions, which I needed to allow space for the storage bins. 🙁 I was a bit thrown off my game when I discovered this fact…while my then 2 year old threw the tantrum of all tantrums in Ikea…cause that’s an easy place to escape…holy mama. It’s a miracle I finished this project after that funfest. Anyway, I found a better option by default so I can’t complain. Thankfully, I was smart enough to have brought my closet measurements with me to reconfigure on the spot. The units were also on sale that month so that was a bonus.
Using bookcases instead of built-in closet components made my organization station portable in the event we ever move.
I desperately wanted the closet to be pretty and magazine-like but reminded myself that this was a closet... upstairs, where no one would see it but me and my kids. And pretty wasn’t going to keep me sane with this project. Usefulness. Organization. Ease of use. These outweighed pretty at this point.
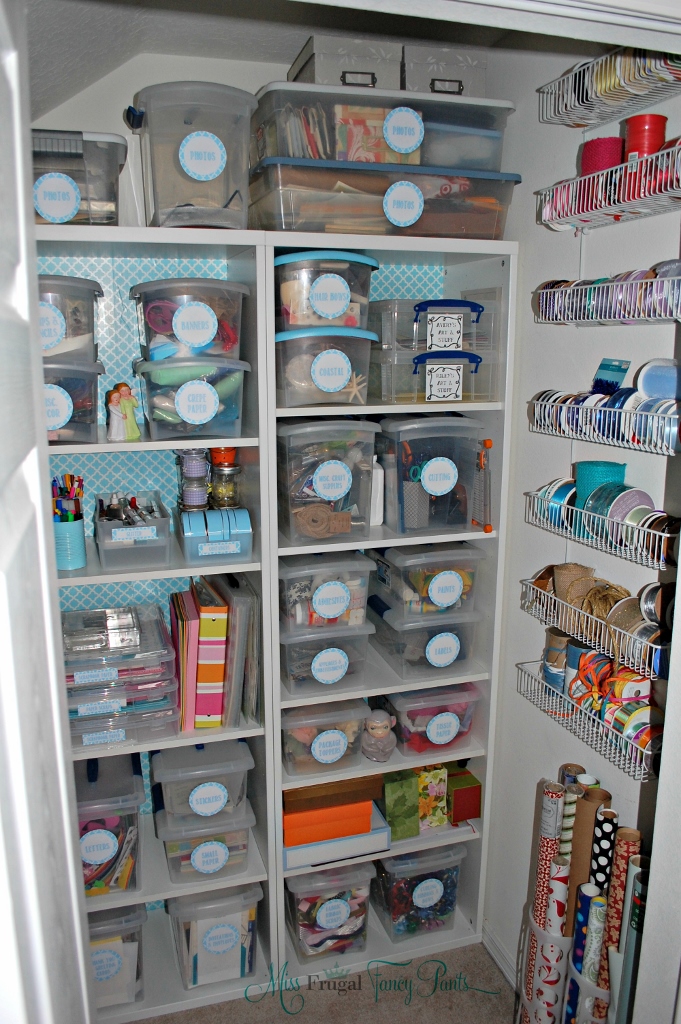
I also decided that pretty bins would obstruct views and while this project was primarily to keep my own sanity, knowing my girls would be accessing this closet randomly, I figured the clear bins would make it easier for anyone looking for something. My labels might not make sense to them but if they could see the hole punch or the glue…
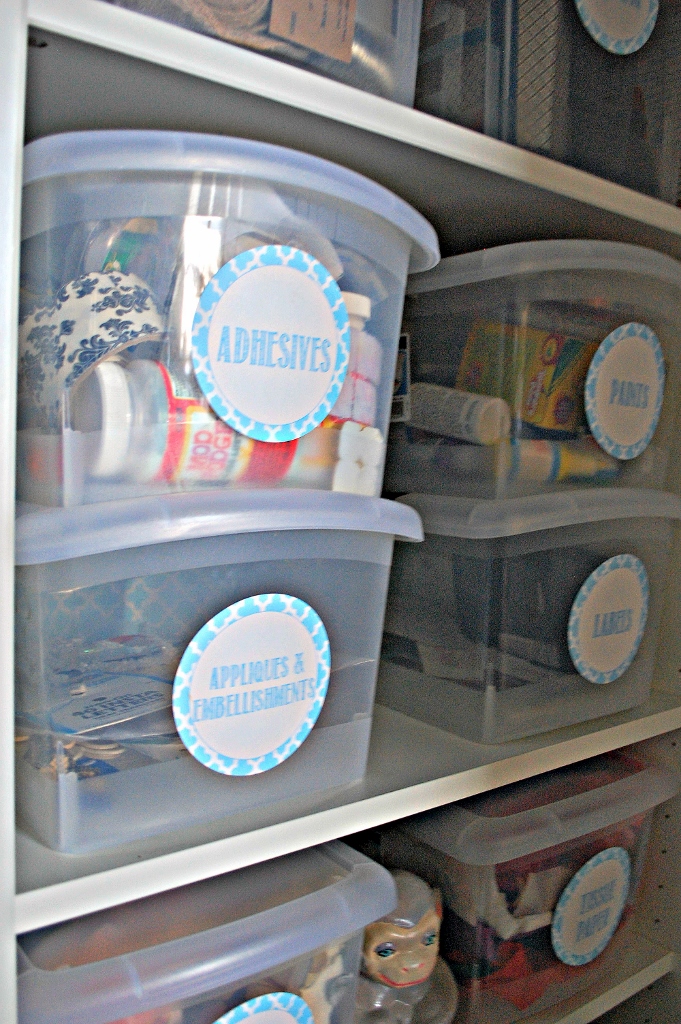
I decided on these Sterilite Bins from Wal-Mart after falling in love with them a few years ago to store some of my Christmas stuff. I love that you can see through them, they have handles for easy transport and they don’t just stack, they nest. Oh, and they are affordable.
I made a list to categorize the many things I pulled out of that closet. There were a LOT. I came up with the following:
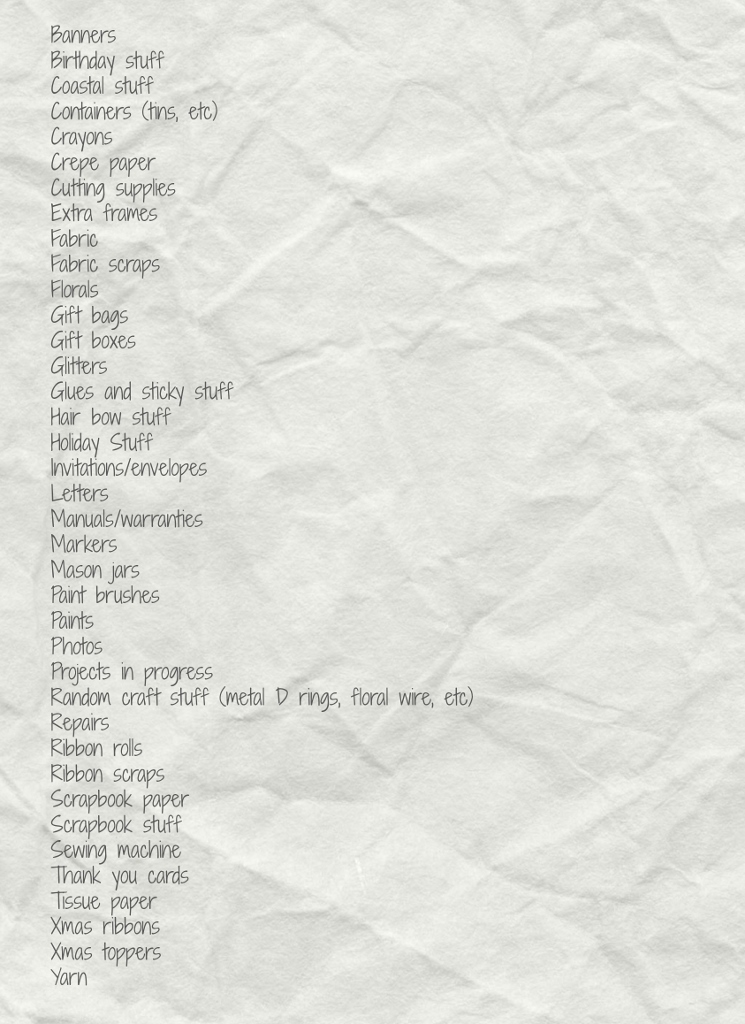
This list was tweaked as I put the closet back together but this gives you an idea of how many insane items a crafter can accumulate. And I’m actually on the mild side of crazy crafter…
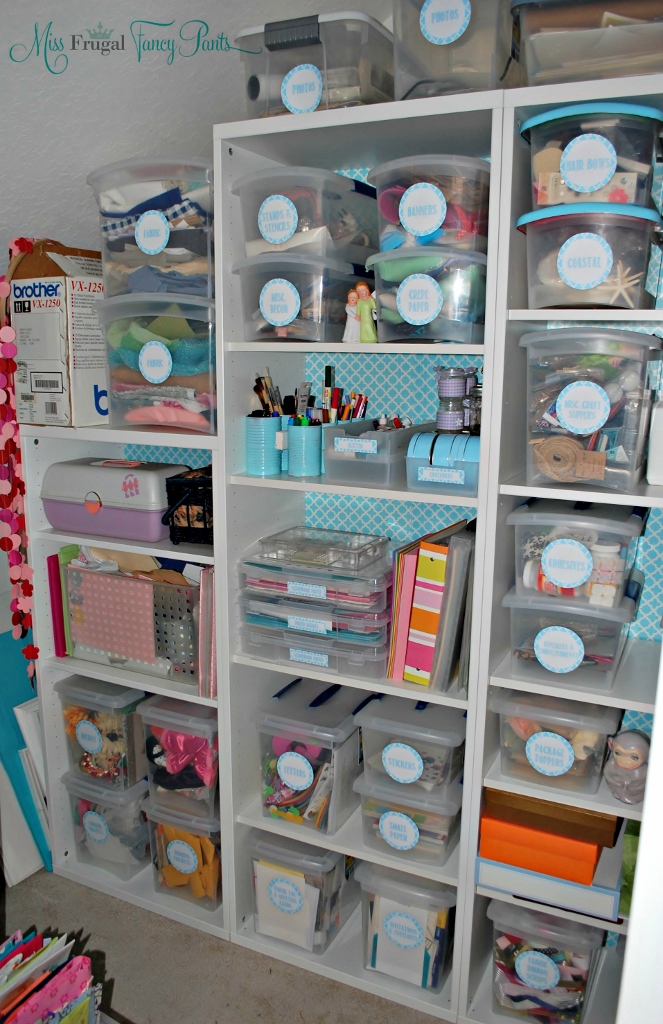 Once I had a list of what I truly needed to store, I was able to decide how many bins and what sizes would work best for my needs. I ordered a mix of medium and large bins for the regular craft supplies and 2 extra large bins for my fabric. Good grief, I had a lot more fabric than I realized.
*Sadly, I purchased these bins in bulk from Walmart.com but they are not currently available online. You can still find them at Joann’s, Amazon.com and a few other retailers but shop around! I paid about $30 for sets of 6.
And in the name of saving, I opted to reuse the sewing machine box (although it makes me crazy to look at), my old sewing kit (which while mostly functional, does not match…YET!) and do you see that Caboodle?!?!?! Yes, I’ve had that badboy since I was in elementary school. I dedicated it to house supplies that the kids could take without permission. I let my 10 year old stock it with kid stuff, the craft supplies I didn’t want or the ones I couldn’t figure out what the heck to do with (which also happened to be safe for the 2 year old to happen upon). She was THRILLED!
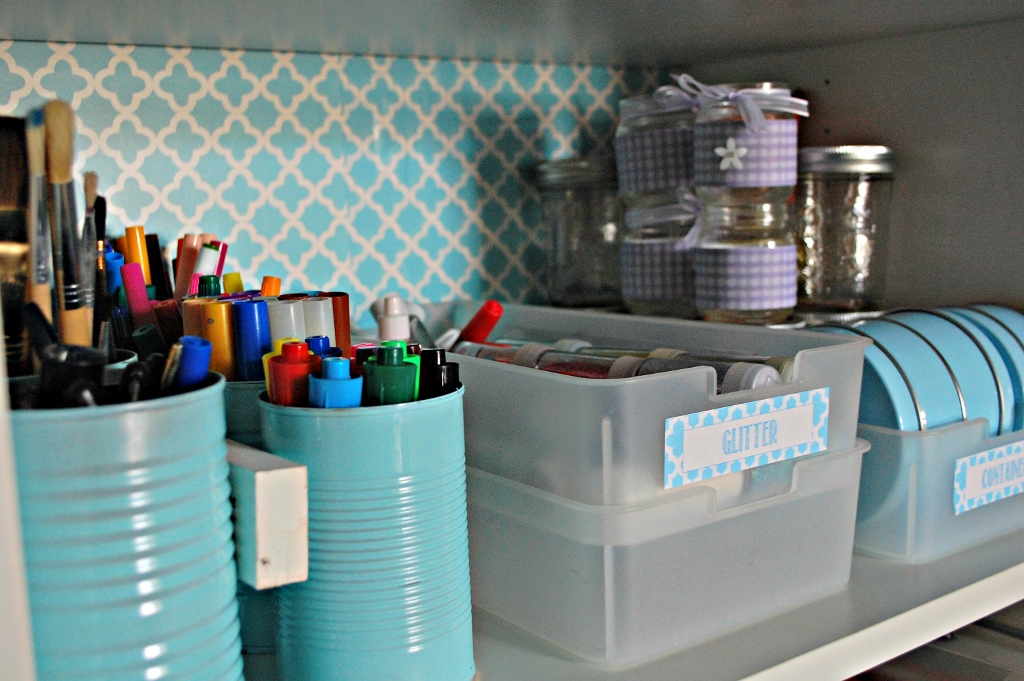
I watched Michael’s and Joann’s like a hawk and price compared for the other storage items I needed. I settled on these Iris scrapbook paper bins which are also clear and have handles to allow for easy transport. And I used my tried and true spray painted cans to hold markers and paint brushes. (More on that project later…)
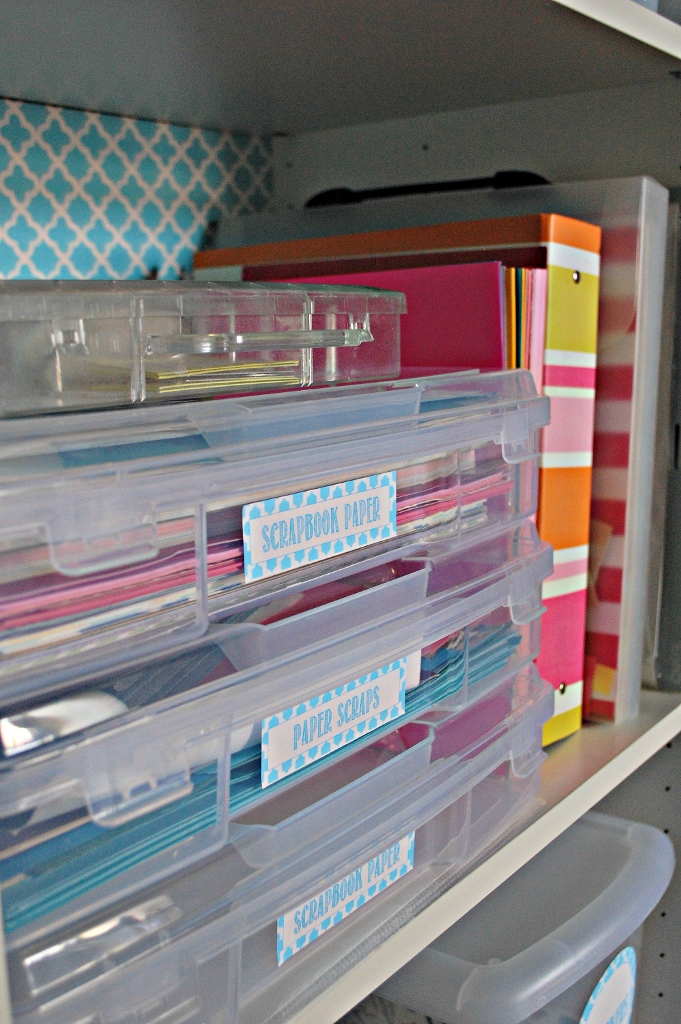
I kept my Martha Stewart Cubbies/Fabric Bins on an awkward wall facing the pretty new bins and didn’t change much with what they held since they were all very rarely used supplies.
I did manage to sneak some pretty into this makeover by adding leftover shelf liner to the back of the shelves and making matching labels for the bins…yes, in Word again. Frugal gals can’t justify Photoshop for closet label projects.
I expanded my genius ribbon storage to take up most of another awkward, narrow wall and added Ikea bag holders to corral wrapping paper. I didn’t attach those to the wall because I have big plans to drastically reduce the amount of wrapping paper I have.
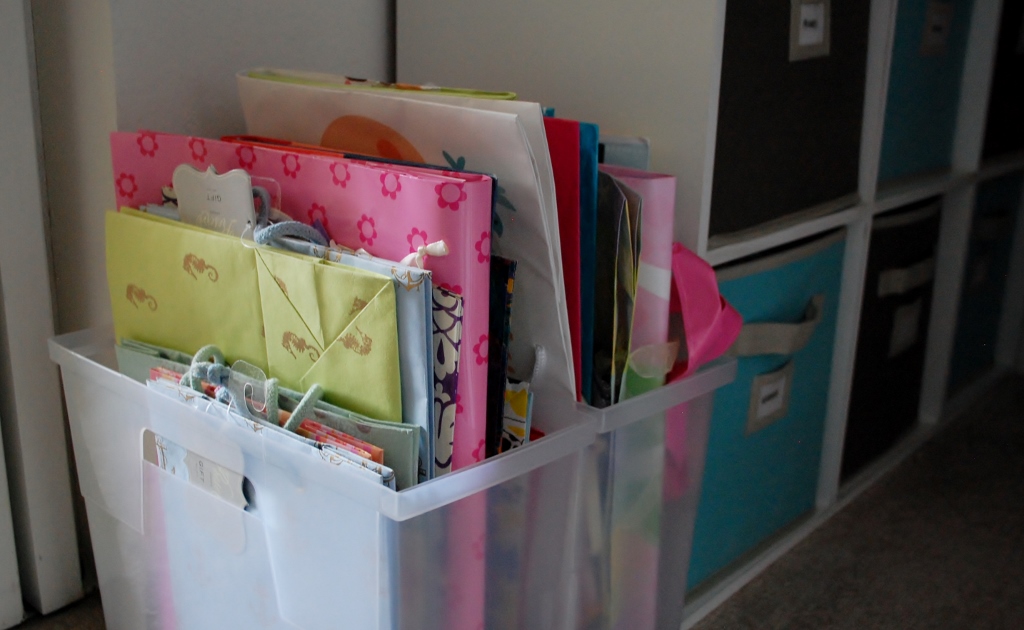
I also decided to use open top file bins to hold my gift bags but am having a hard time finding the proper space to hang them. Each idea I’ve had has been a bust so they are currently sitting on the floor. I also have plans to reduce the amount of bags so once the inventory has dwindled, it won’t be so hard to hang a single bin (vs. the 3 I currently have).
This closet is still a work in progress as I have yet to find the perfect solutions for some random supplies but I’m already 400 times better off than I was before.
I had actually planned to put a sign on an empty shelf to read “Future Cricut Parking” as a hint to my hubby but he beat me to the punch and shocked the bejeezus out of me for my birthday. I think I need to do an entire post on receiving the Cricut. I haven’t even used it yet, but the emotions were magical. If you are reading this far in this post, you are a crafter, and can certainly relate.
In the end, I did need to spend a little bit of money to get organized and not lose my mind. Once I realized that I would never toss everything to be rid of the chaos…because I truly enjoy the projects…I just needed to stop all other projects until I got my butt in order. I’m so glad I did, and so far, so good with keeping that closet floor “pile free.”
Here is my short list to organize your own space:
- Empty Your Space
- Categorize Items and Find Homes for Anything that Doesn’t Belong
- Measure Your Space to Determine What Will Fit
- Do Your Research to Find the Best Options to Fit Your Needs and Budget
- Find Bins that Work Together (Even if it Means Getting Rid of the Ones You Already Own)
- Assemble, Install and Be Prepared to Tweak as You Go
- Love Your Newly Organized Space!
What are your favorite tricks to keep your supplies in order?
(*This post may contain affiliate links which help support this blog.)


 Kara is a self-proclaimed Martha Stewart wannabe with the taste of an aristocrat and (thankfully) a penchant for bargains. She hopes to inspire you to live life beautifully and affordably while laughing at her expense along the way.


This looks really amazing — well organized & pretty, too!
Thanks! I’m so happy with it!