When I built my house over a decade ago, I was foolishly content with my laundry closet simply because it wasn’t in the garage. Two kids and a husband later, I truly need an ENTIRE garage to sort, fold and store everything associated with laundry.
Prior to this makeover, my biggest gripe was that each time I went to do laundry, there was nowhere to put my sorted piles. I’d dump everyone’s baskets on the hall floor in front of the laundry closet and frantically sort my 4 piles … as if the faster I sorted, the faster this hot mess would go far, far away. This was ridiculous because:
1) who the heck wants dirty laundry sitting out in the open … on the FLOOR?!?!?
2) this hallway also houses our downstairs half bath and piles of clothes are dangerous to leap frog over en route.
3) this hallway also led to our garage, which is visited frequently on a daily basis for various reasons resulting in same said leap frog dangers.
4) quickly sorting makes no difference in all of the above happening.
Furthermore, there was no place to hang delicates or anything that couldn’t withstand the dryer. Guess what that meant? In addition to the dirty piles on the floor, I now had random unmentionables, sweaters and little girl’s fancy dresses draped over my dining room chairs. The horror!
My house, at least a section of it, looked like Pottery Barn threw up a laundry mat. So, after years of tripping over dirty laundry, or frantically ripping damp clothes from the backs of chairs as company arrived, I’d had enough. This happened to come at a time when we needed a new washer and dryer so I was stoked to conceptualize my new, smart (and still pathetic in size) laundry closet.
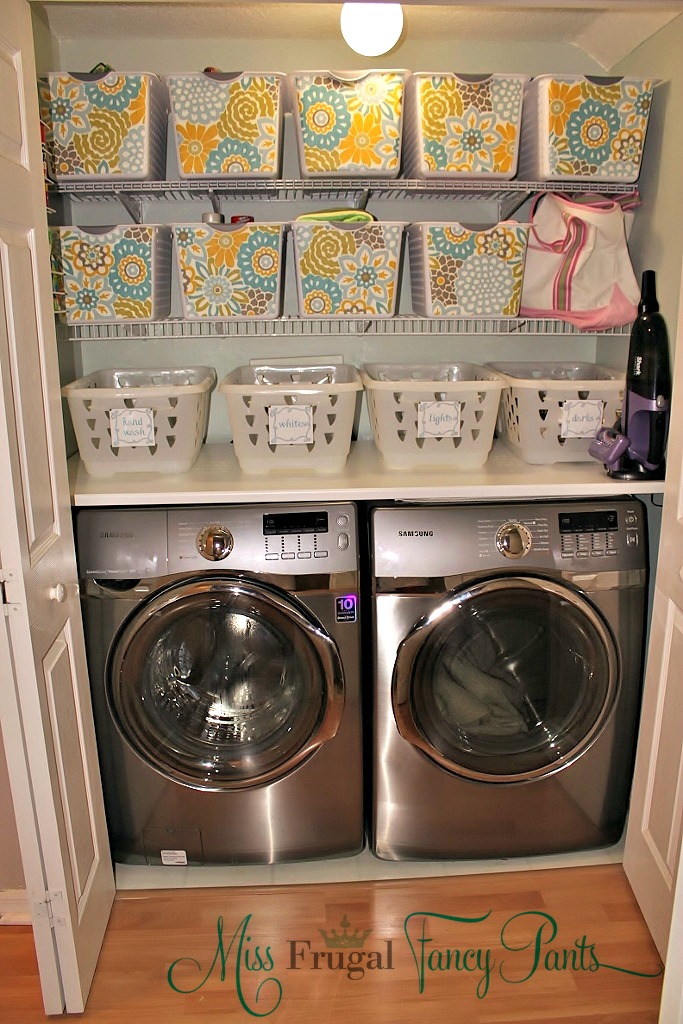
Unfortunately, I was too embarrassed to take a before photo but you can imagine your typical sixish foot closet with a side by side washer and dryer and a single wire shelf hung halfway up the wall. As basic as they come but with tons of junk everywhere. Yuk. No before shots, but here is my after!!!
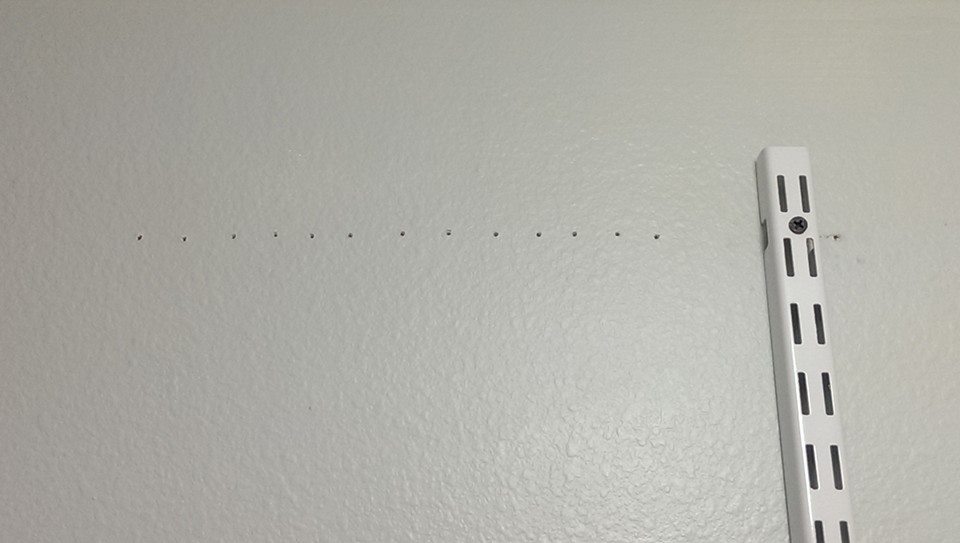
![]() I took down the existing shelf and added a Closetmaid ShelfTrack System so that I had wiggle room to adjust shelves as needed. I reused the old shelf and only had to purchase 1 new shelf (darn low ceiling height!). And let me tell you what, I’m not sure what was going on when they built my house to “code” but it took an act of Congress to find a single stud in that closet. I was convinced the stud finder was on the fritz, but no. Holy moly.
I took down the existing shelf and added a Closetmaid ShelfTrack System so that I had wiggle room to adjust shelves as needed. I reused the old shelf and only had to purchase 1 new shelf (darn low ceiling height!). And let me tell you what, I’m not sure what was going on when they built my house to “code” but it took an act of Congress to find a single stud in that closet. I was convinced the stud finder was on the fritz, but no. Holy moly.
I also purchased a very inexpensive white Fyndig countertop from Ikea to lay across my new (and really pretty!) washer and dryer so that I’d finally have a surface to work with! My handy step-dad cut the countertop for me and it was instant bliss once we laid it down (on an old folded towel to prevent any scratching of the appliances and to help level it).
Once the hard stuff was done, I couldn’t wait to put my bins up! I originally wanted wallpaper in this closet but realized my storage idea would cover it up and be a complete waste of money.
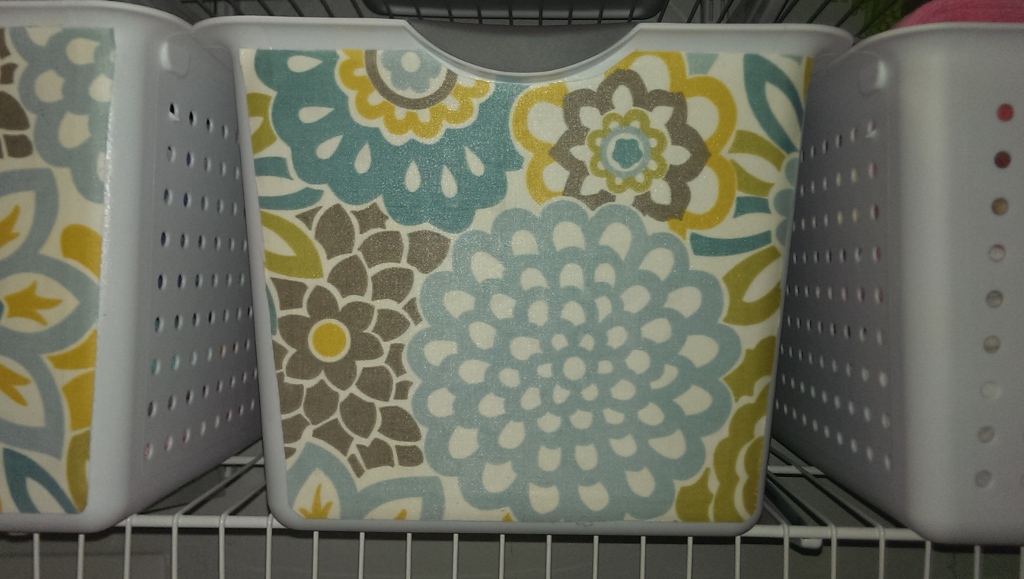
Once I found this brilliant tutorial on how to fancy up Sterilite bins (from Wal-Mart) with fabric and Mod Podge, I realized it was way more cost effective to essentially wallpaper the bins. When I redecorated our living room, I fell in love with a crazy fabric, well outside of my classic range, which I wasn’t able to incorporate. I decided these bins, behind closed doors, provided the perfect opportunity to use a crazy fabric! Plus, I can always recover them when I come across another crazy pattern that I’m too stuffy fancy to use out in the open.
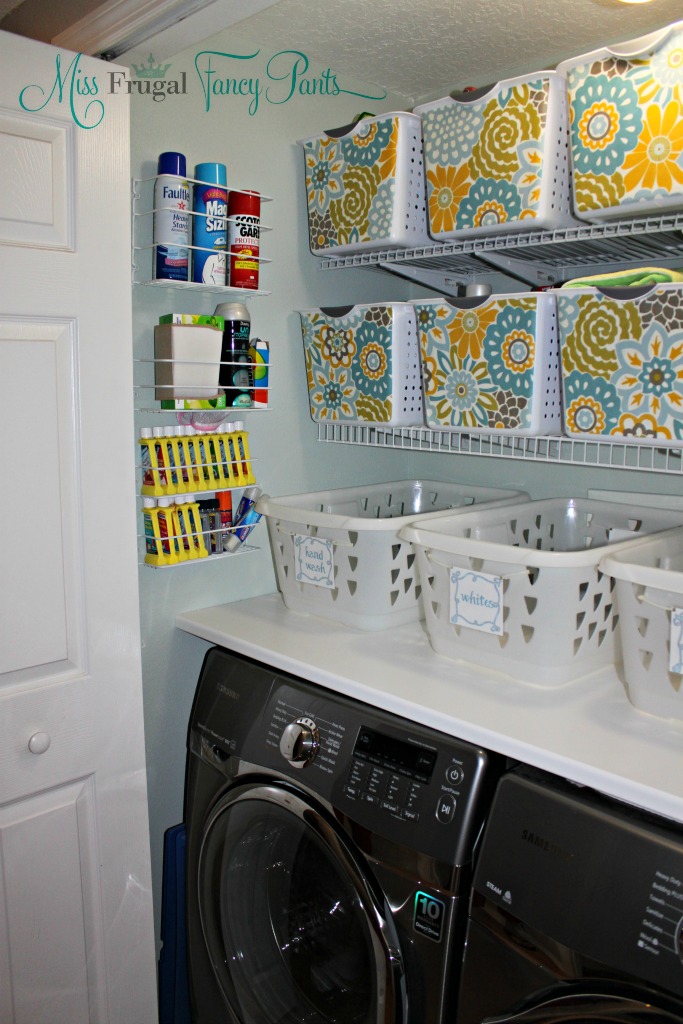
I did paint the closet but I used the leftover paint from my living room project so I didn’t incur additional costs. I already had the side wall storage bins from the “old” closet and while they were originally hung crooked (by an impatient me), I left them right where they were because I had no desire to patch or drill anymore holes. And yes, those are a zillion bottles of Carbona stain remover. For those of you who have never heard of Carbona, they are miracle working little bottles of stain specific stain removers. I’ve saved many an item with the help of those bad boys. Get yourself some. Pronto.
Wanna play a little game? Can you spot my Sheldon Cooper t-shirt folder in this photo? No, I don’t use it (I have another insane way to fold t-shirts) but I can’t seem to part with it.
And if you are wondering what in the world I have in all those bins on the shelves…you might be sorry you asked. I haven’t figured out how I want to label my bins (feel free to offer suggestions) so here goes:
Bin 1: Plug-ins (Glade, Wizard), random smelly stuff for random smelly units I’ve acquired because I’m a FREAK about smells!
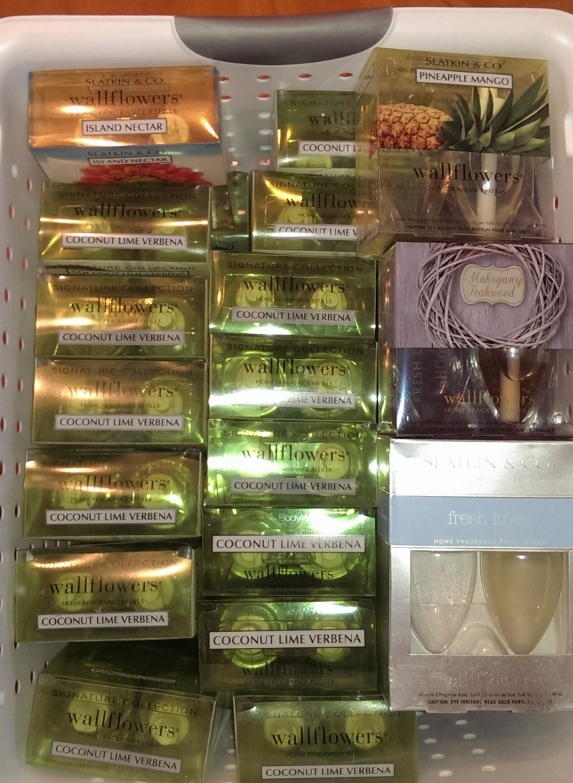
Bin 2: Wallflowers from Bath & Body Works. Yes, I know I said the smelly stuff was in Bin 1 but here…take a gander at my obsession with a certain scent from B&BW that is always limited edition which means I buy a lifetime supply of the stuff everytime it’s available.
Bin 3: Ironing stuff & shoe polish stuff (extra ironing board pad, garment protector, sole plate cleaner, iron, etc…)
Bin 4: Candles (remember what I said about being a scent freak…)
Bin 5: Laundry detergent, bleach, color-safe bleach, etc.
Bin 6: Cleaning cloths (microfiber cloths, steam mop cloths, hand duster, etc)
Bins 7 – 9: Pool/Beach towels (because my linen closet is too full to hold these and I promise to post the linen closet organization soon enough.)
Lastly, I purchased smaller laundry baskets from Ikea because they were the only ones that would fit in my little space, side by side, for a total of 4.
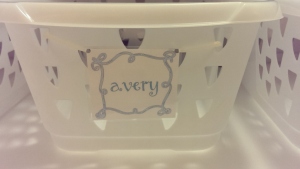
I made pretty laminated labels for each side and attached them with zip ties. Dirty laundry goes into the baskets with one set of labels showing for easy sorting.
Folded laundry goes into the baskets (flipped to expose the other side) with each family member’s name on it so they can take their stuff to their rooms to put away. The only exception is that the “Hand Wash” basket flips to say “Iron”. That way, I can procrastinate and put all those wrinkly items in one spot to keep things looking neat and tidy!
The only missing piece to complete this closet is a ceiling hung drying rack. I found one with a pulley system which seems amazing but I’m on a spending freeze right now. I will also have to replace my ceiling light fixture with a recessed one to accommodate this gizmo but I know I’ll love the end result (and functionality)!
I’m thrilled with the storage I created and with my teeny tiny space that is now anything but an eyesore (at least most of the time). Aside from having to replace our washer and dryer, the rest of this project was about $100 and worth every penny for peace of mind.



 Kara is a self-proclaimed Martha Stewart wannabe with the taste of an aristocrat and (thankfully) a penchant for bargains. She hopes to inspire you to live life beautifully and affordably while laughing at her expense along the way.


We are in the process of moving laundry to main floor. Your unit with ideas is exactly what we’ll have. Turn closet into the main floor laundry and has me overwhelmed with how to make the most of the small space. Your ideas and pics will be perfect for me! We have same laundry units, and have our counter piece ready for installation! The shelf ideas will be wonderful also! Now I just have to “train” family how to be organized! Thank you so very much!