
I’ve always been a bit obsessed with the toss pillows in my living room. Once upon a time, I purchased Pottery Barn pillow inserts with covers and may have cried a bit over how much I spent. I quickly learned to only purchase their pillow covers on clearance, but that obsession rapidly grew tiresome for me…especially when the ones I wanted generally sold out before hitting my price range. Thank goodness I have a very crafty friend who introduced me to the pure awesomeness of super easy DIY pillow covers.
I also go googly eyed when I happen upon fun fabric so this is the perfect project for me when I want to inject some newness into our spaces for a super cheap and minimal effort.
Another friend recently asked for some help while redoing her entire house. At one time. Holy moly. And she is one of my friends who loves to make fun of my Martha ways so this was quite a project for her. Anyway, I agreed to make her some DIY pillow covers to help bring her new living room together.
She picked her fabrics and I got to work.
This is my first tutorial so please bear with me. I also su-uck at sewing so the sheer fact that I can pull this off is rather impressive. In other words, if I can do this, you can totally do this.
Disclaimer: There are tons of tutorials online for this project and they all vary a tad in how you should size your covers. This method works best for me but don’t get all cranky with me if someone else’s method works better for you thus making you think I’m a dummy. I am.
Supplies Needed:
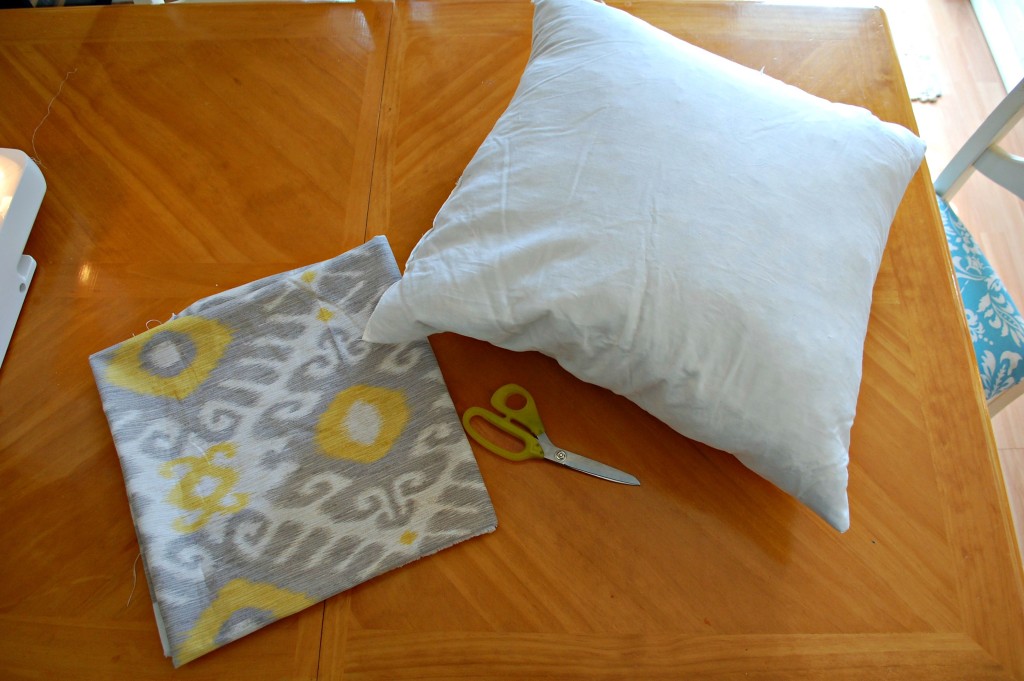
- 1-2 yards of fabric for 2 pillow covers (depending on the pillow size(s) and the width of the fabric)
- pillow inserts (or even those old ugly pillows that came with your couch from 15 years ago)
- yard stick or measuring tape
- scissors
- iron/ironing board
- sewing machine (you could do this by hand but it would take a lot longer and personally make me want to poke my eyeballs out with the needle)
- thread (duh)
Step 1 – Measure & Cut
Measure your pillow inserts. Some inserts actually have the sizes printed on the tags but if not, measure the seam of one end to the opposite end. This tutorial is for a square pillow cover, but you can use the same method for a rectangular pillow by adjusting the measurements accordingly.
You want the length of your fabric to be the exact (or very close to it) measurement of your pillow. So, if you have a 22″ pillow, your cut length will also measure 22″. I made these a tiny bit longer just in case I screwed up. Entirely possible when I’m doing this sort of thing.
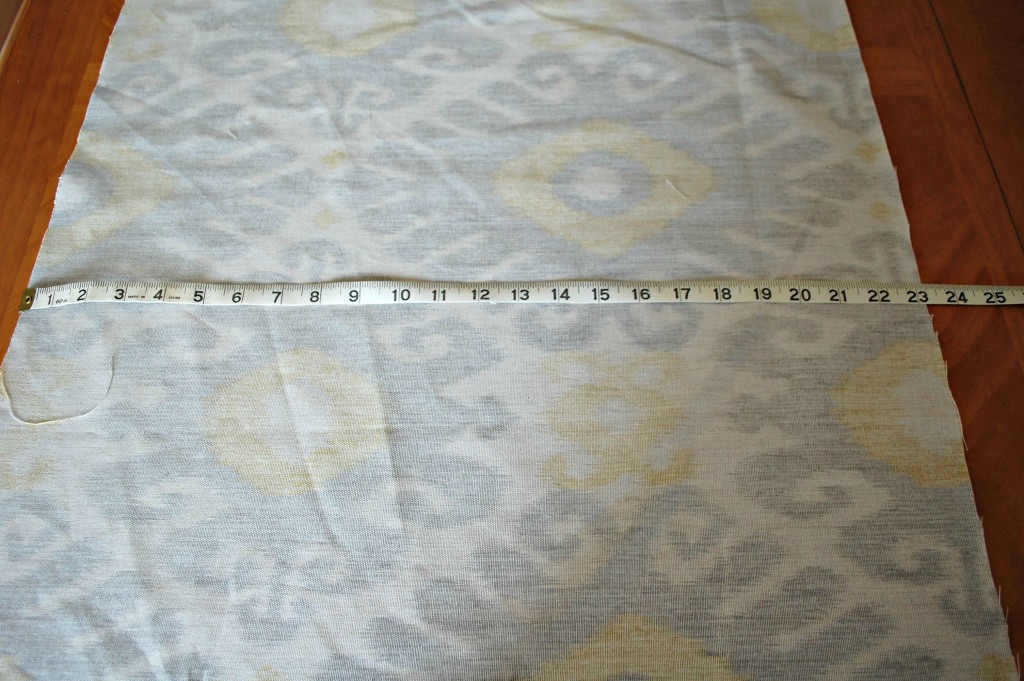
The width of the fabric you need to cut should be twice the width of the pillow plus 6″. A 22″ pillow cover would need to be cut to 22″ x 50″.
22 x 2 = 44
44 + 6 = 50.
This confused me at first but just be patient and trust me.
Here are some examples of the sizes you would cut for various pillows to help you process:
14″ Square Pillow – 14″ x 34″
18″ Square Pillow – 18″ x 42″
20″ Square Pillow – 20″ x 46″
14″ x 20″ Rectangular Pillow – 14″ x 46″
Step 2 – Iron & Sew the Short Ends
Fold over the ends of the short sides of the fabric, approximately 1/2 – 1″ and iron flat.
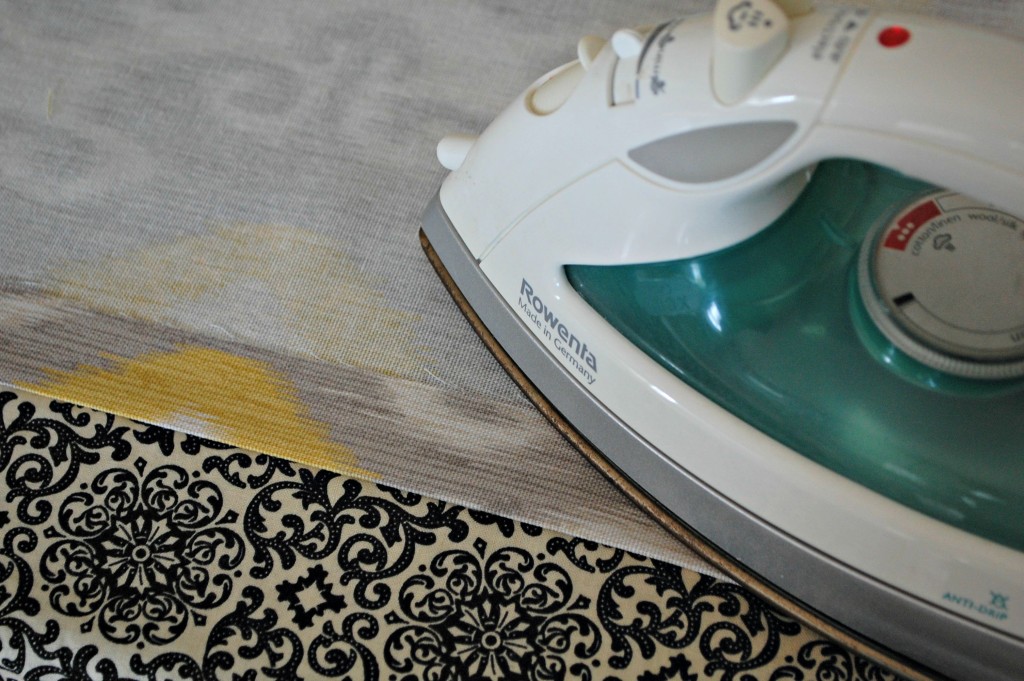
Here is my fabric after I ironed the edges.
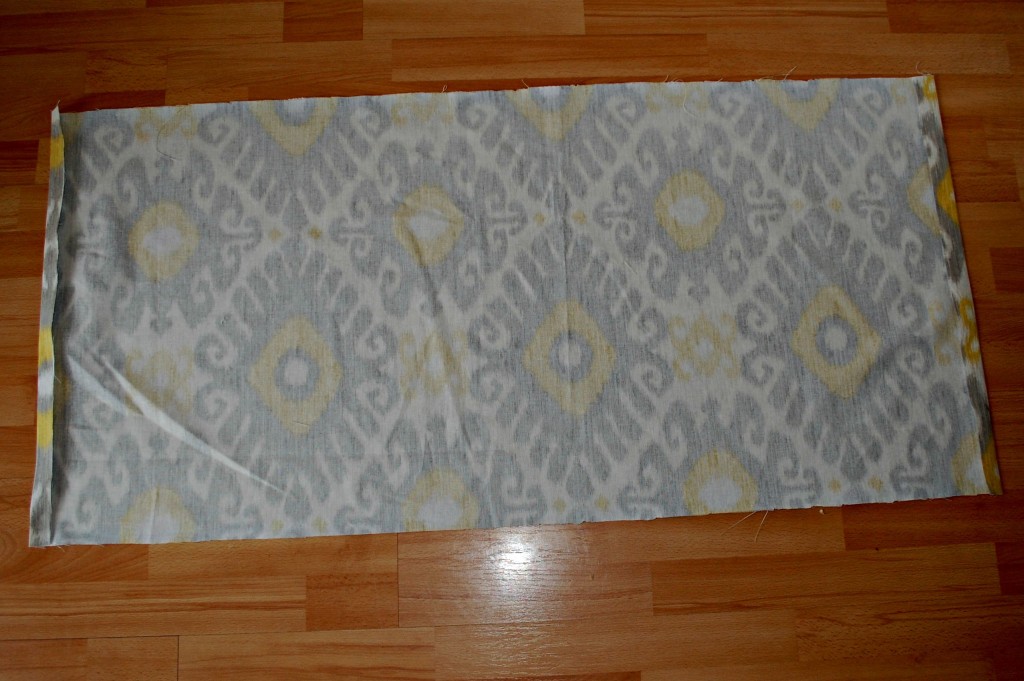
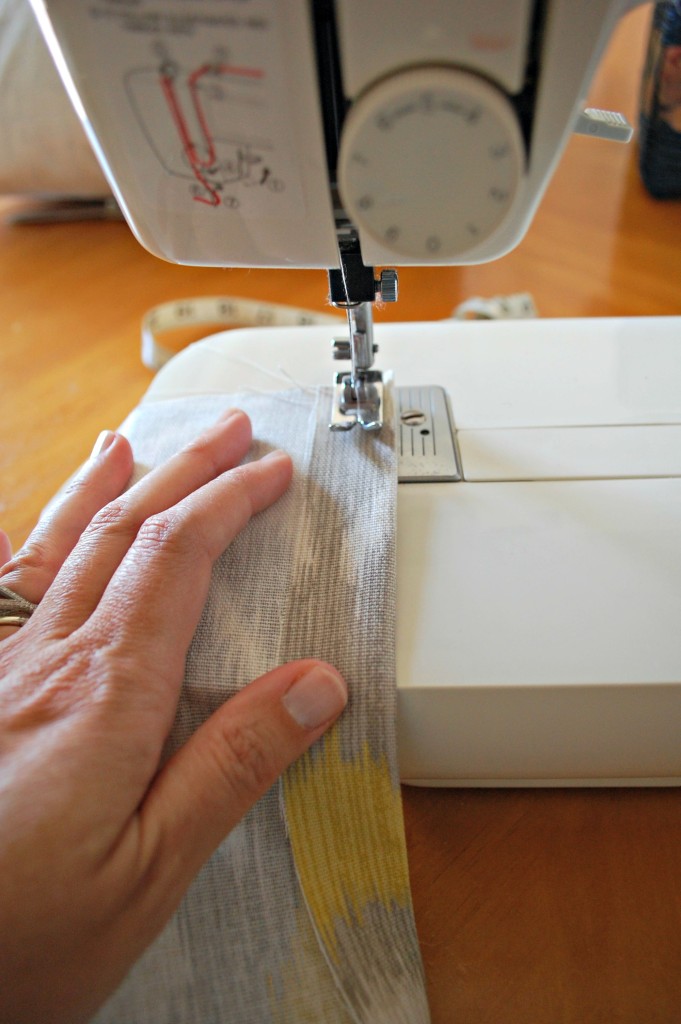
Sew each edge so that you have a finished edge. This doesn’t have to be perfect but try to get the stitch as straight as possible.
Step 3 – Prepare to Sew
Lay your fabric flat with the wrong side facing up and fold in each end to look like this:
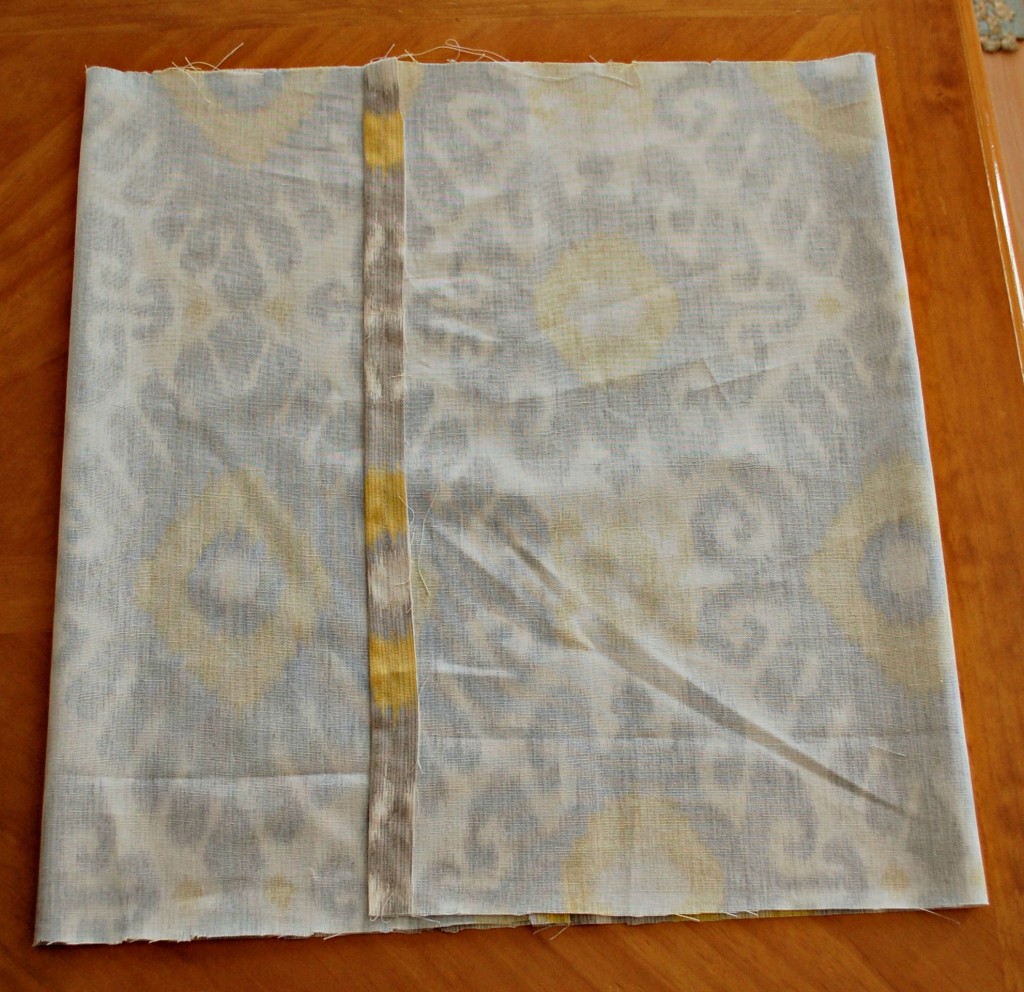
The new width of the folded fabric should be 1/2″ less than the measurement of your pillow. For this 22″ pillow, the width should be 21.5″. Play around with this step to get the measurement right while getting the folded/ironed/sewn edges somewhat centered.
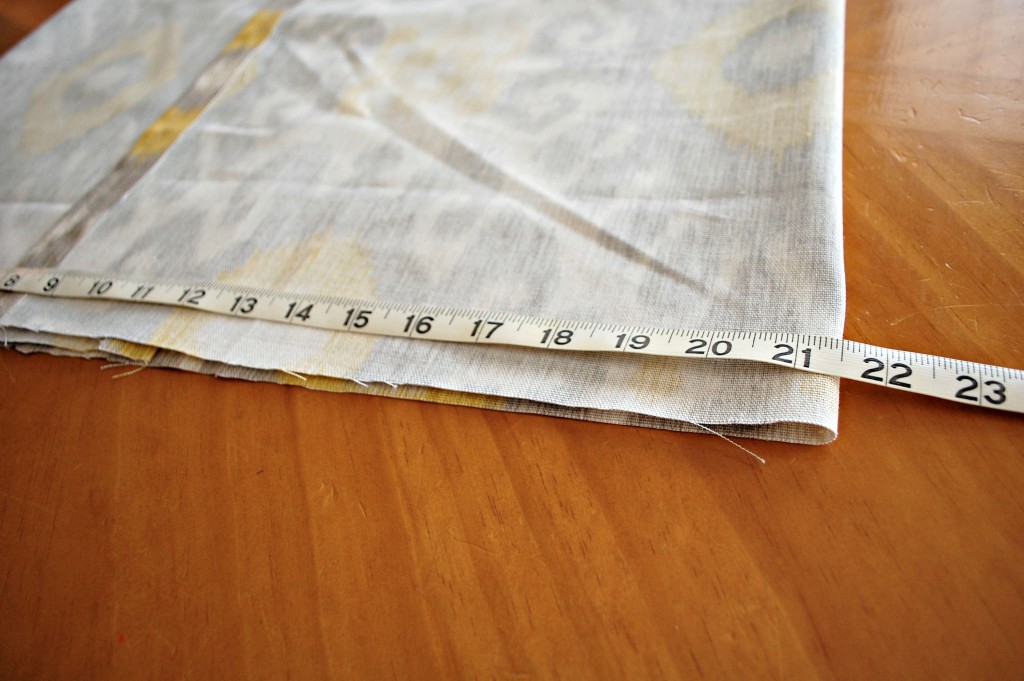
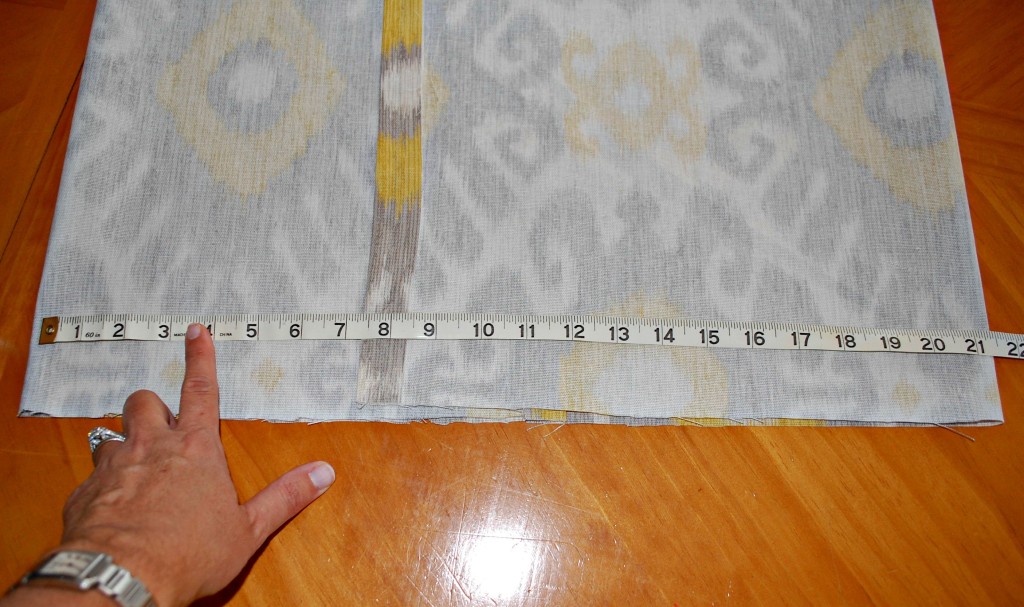
Pin the sewn edges to hold everything in place.
Step 4 – Sew her up!
Sew the top and bottom edges. If you cut your fabric to the exact length of your pillow, sew as close as you can to the edges. Since I gave myself wiggle room, I was able to sew a little further from the edges. If you go this route, you can always trim the excess fabric if it bothers you.
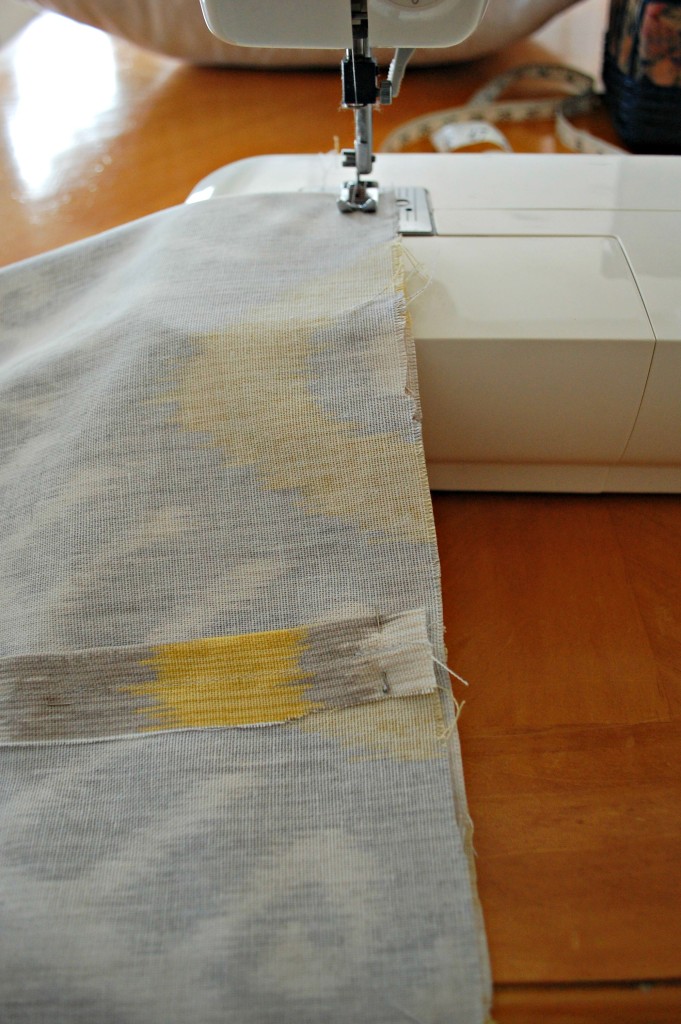
Pull out your pins and your inside out pillow cover should look like this.
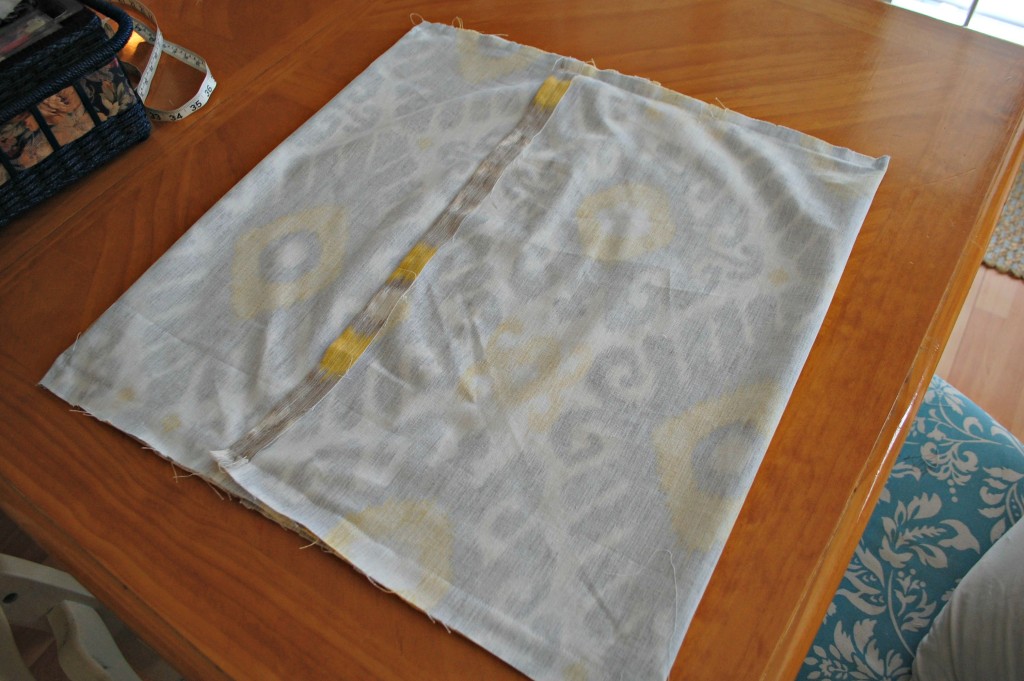
Step 5 – Finish Up
Turn your pillow cover right side out.
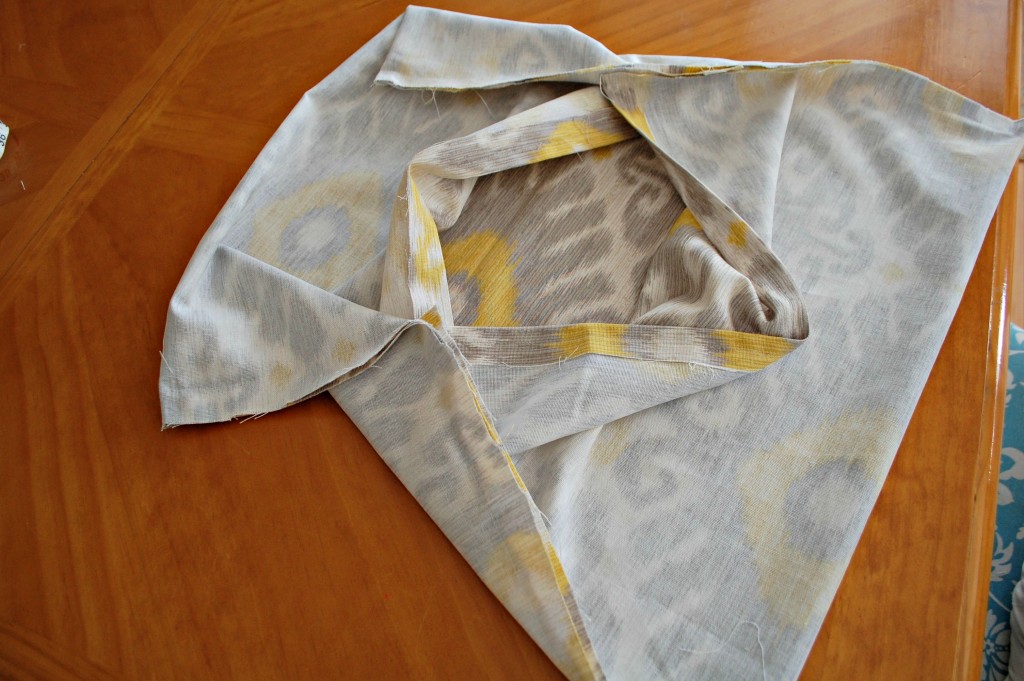
Your easy DIY pillow cover will look like this from the back.
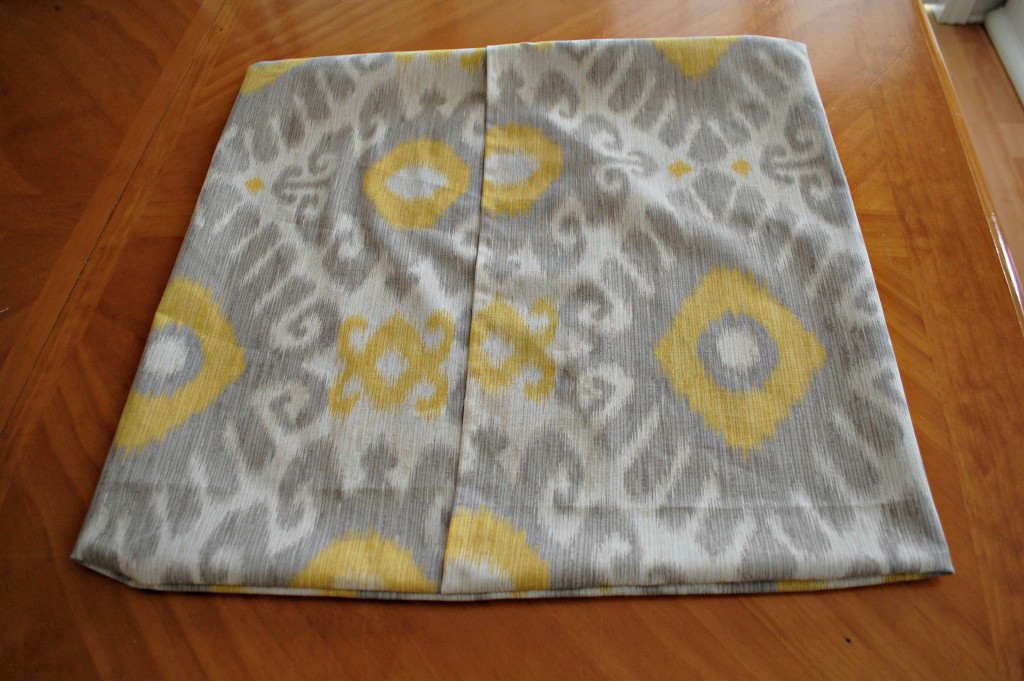
Now, stuff your pillow insert into your creation and pat yourself on the back…like I do each time I pull this off successfully. Yes, I’ve had a few DIY pillow cover fails as well. I did tell you I am a sewing idiot, right?
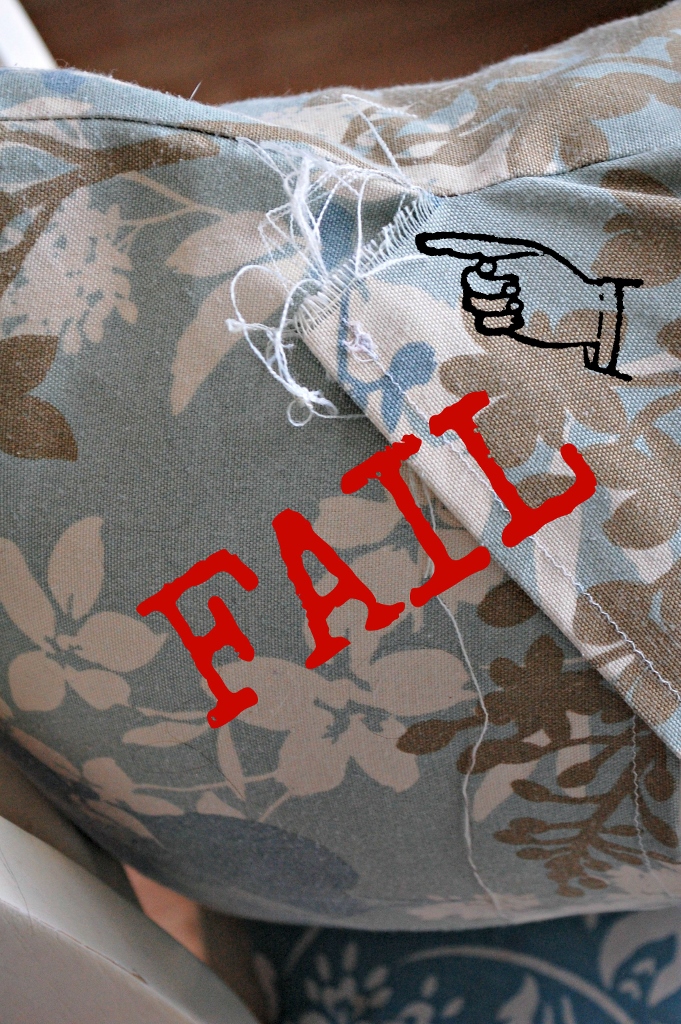
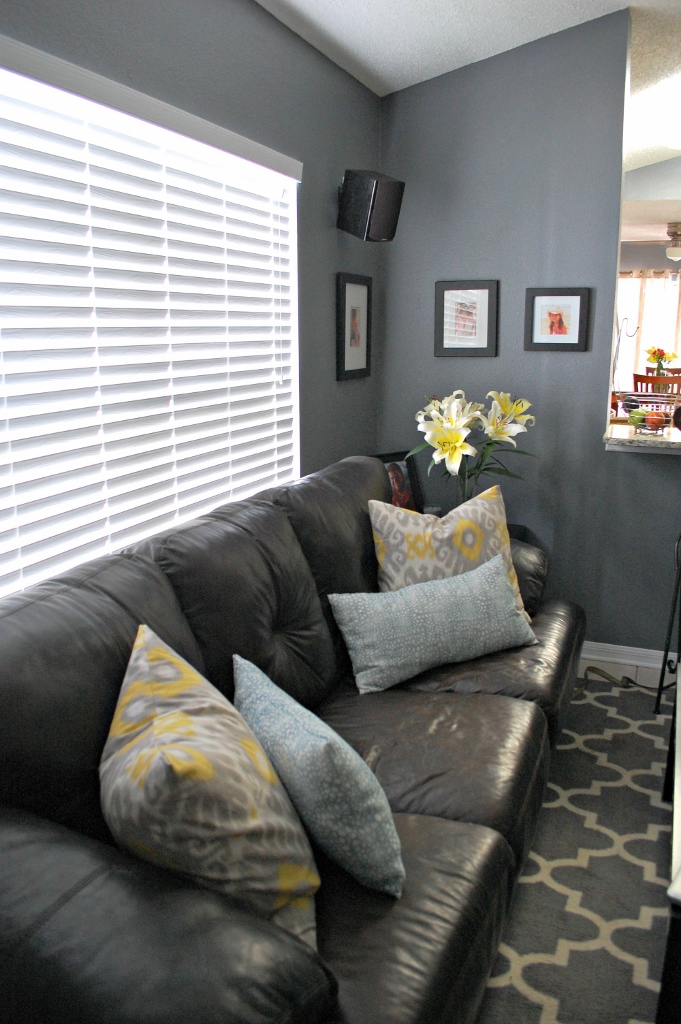
And that bad boy is totally in my living room as we speak. It was one of my weaker moments where I was so annoyed with myself, I threw it in the living room and prayed no one would notice. But I sure do. Every. Single. Day. Yet, there it sits. Feel free to take a gander at my living room makeover which houses this failfest.
But this one was successful. Whew. When you get made fun of for perping as Martha, you had better darn well deliver Martha quality. Otherwise, your friend might feel bad for just being mean…
She doesn’t, FYI. It’s cool. I make fun of her for running like a total weirdo who enjoys exercise. W.E.I.R.D.O. Who runs when they can make pillow covers while eating marshmallows? (I don’t actually eat marshmallows. I just happened to buy some for my insane 3 year old today and it was the first thing that popped in my mind as I was typing this to make a point.)

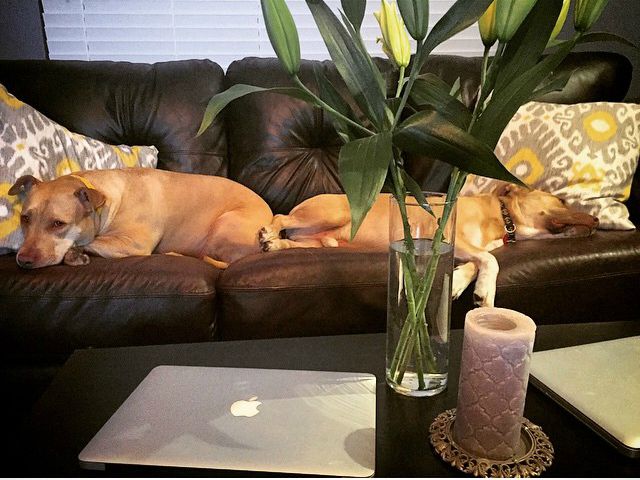
My friend’s four-legged friends are fans of their new pillows.
In all seriousness, you can totally pull this off.
Happy sewing!


 Kara is a self-proclaimed Martha Stewart wannabe with the taste of an aristocrat and (thankfully) a penchant for bargains. She hopes to inspire you to live life beautifully and affordably while laughing at her expense along the way.


Trackbacks/Pingbacks