 My oldest daughter, now 10, has always had WAY too much stuff in the way of accessories. I’ve spent her entire life trying to figure out how to organize her belongings so that she can find them (and put them away…hahaha) and to save my sanity when I’m the one putting them away.
And yes, I realize I have no one to blame but myself but I have an illness and simply cannot pass up an adorable pair of sunglasses on super sale at Gymboree (affiliate link). Or the necklace. Or the scarf.
For years, I had everything in a single drawer with compartments but that proved to be completely ineffective once she was old enough to get in and out of that hot mess. Or at least the hot mess it became once she got her grubby paws on my OCD masterpiece.
She is quite possibly the most UNTIDY human on the planet. I’m still unsuccessfully grasping at straws to teach her to simply put things back. Oh, the drama we have over this. D.R.A.M.A.
So I continue to purge. To stop buying her anything that isn’t necessary. To find new ways to make putting things away natural.
I am still getting a big, giant F in that parenting department.
The good thing? She’s learned to not expect anything aside from food. (this is only minor sarcasm)
The bad thing? Other people still buy her stuff. The horror, I know.
But, I digress. Back to her accessories. She’s willingly parted with a ton of her stuff but as she gets into her tween/teen years, they are sure to rear their ugly heads again in the upper dungeon of my home.
So I asked her if it might help to have them stored in plain sight. Where she could simply look and grab. Or NOT, to avoid putting something back that she didn’t want to begin with.
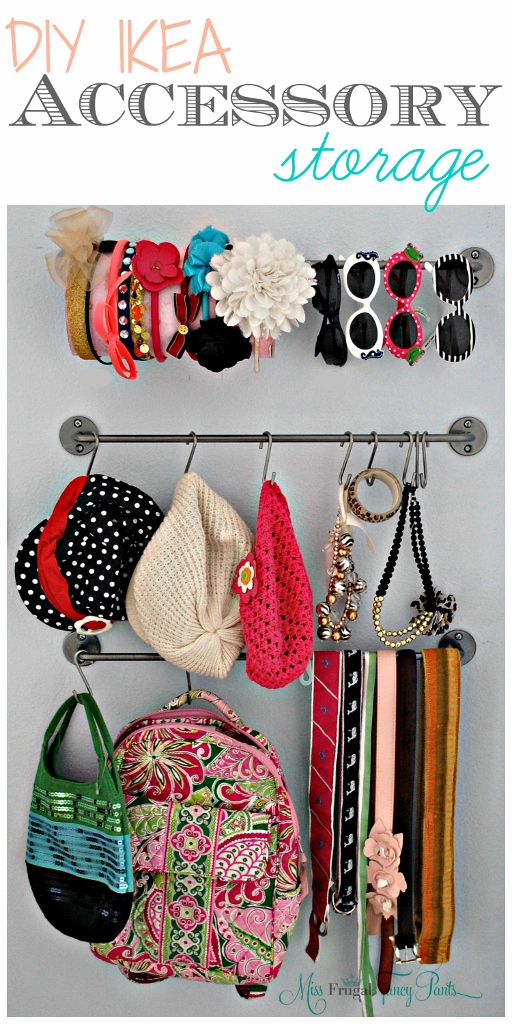
Enter Ikea and the Bygel rails and S-hooks. A whopping $2.99 per rail and $0.99 for 10 hooks.
I went with 3 rails and 2 packs of hooks to start (although I only used 1 pack).
My favorite thing about this is that you can add to it later. I can add those suckers all the way up her wall if I want (and give her a ladder for her birthday).
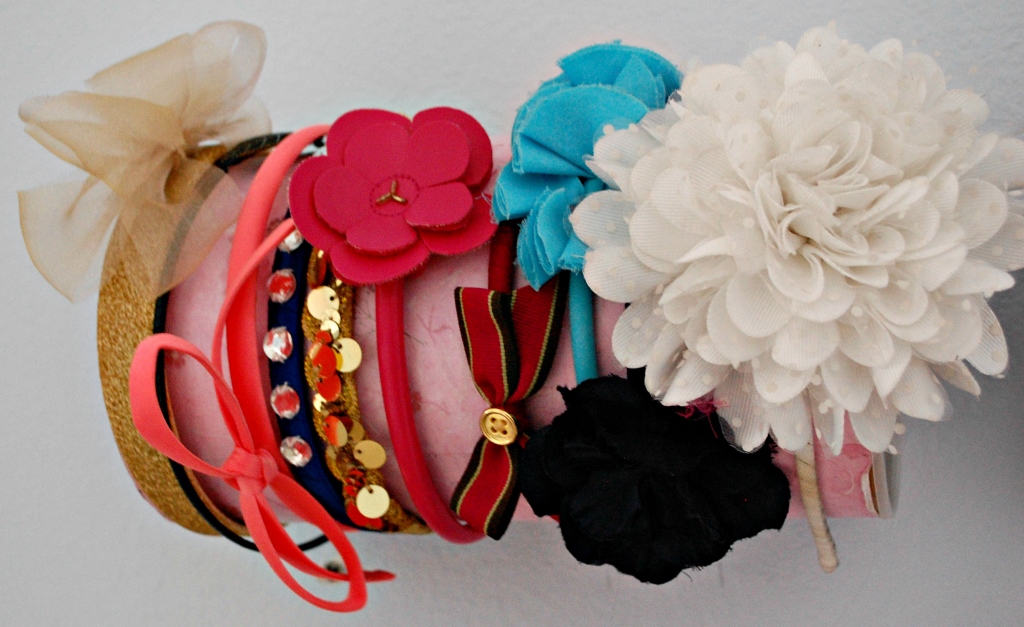
I made the headband holder as a freestanding piece for my younger daughter’s room when she was born and bald and needed a hundred headbands. She has 4 more strands of hair now that she’s 2.5 so she wears bows instead.
I re-purposed the headband holder by cutting out the bottom and simply threading it over the Bygel rail. Prior to using this, the headbands liked to slip off if you didn’t hang them just so. And we all know that meant 400 headbands on the floor. True story.
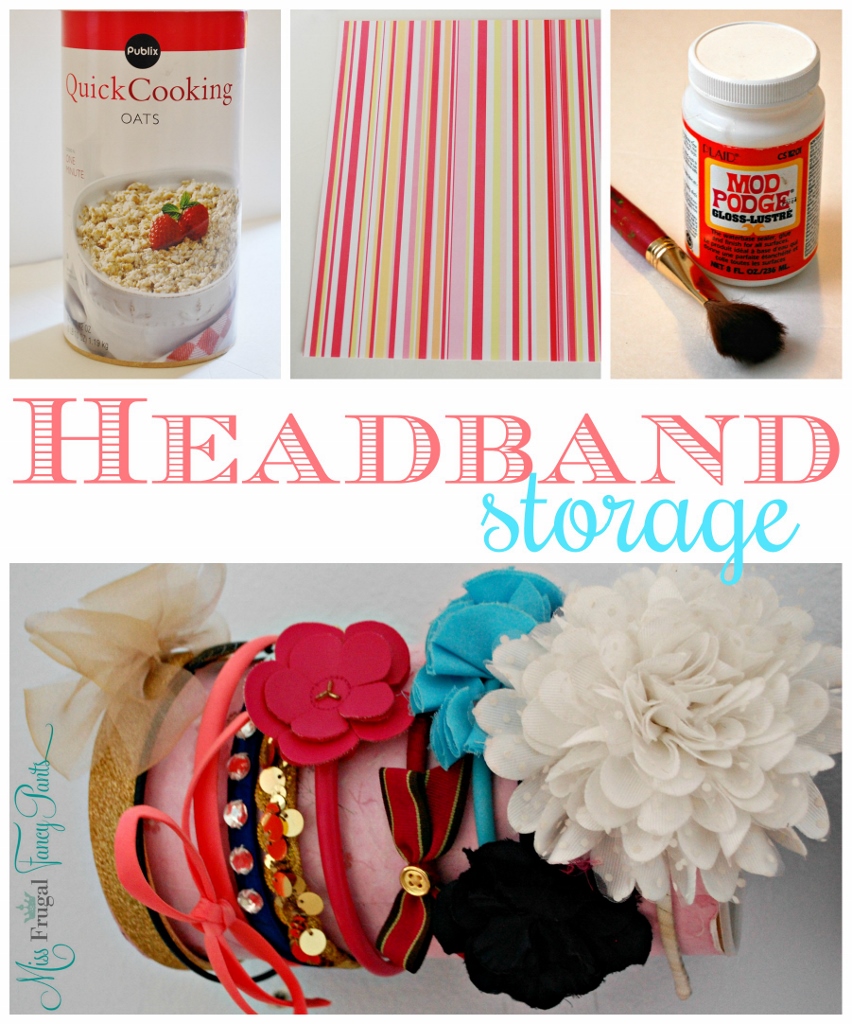
This headband holder was easy peasy. I used a canister of oatmeal (be careful you get the right size because the one I used actually stretched out the infant headbands too much, but worked for the normal sized headbands), Mod Podge and some scrapbook paper. You could also use fabric if you’re trying to match a room. Just cut your material/paper to size. Add Mod Podge to the canister. Carefully place your material/paper and add another layer of Mod Podge.
Note: The freestanding canister was great because I could also put stuff inside of it.
I love this idea for storing accessories and would use it myself if I had a free wall in my tiny bedroom and microscopic closet.
Feel free to share any suggestions or your own ideas for this type of storage!


 Kara is a self-proclaimed Martha Stewart wannabe with the taste of an aristocrat and (thankfully) a penchant for bargains. She hopes to inspire you to live life beautifully and affordably while laughing at her expense along the way.


