So, this is sort of a coffee filter wreath accidental success story. I recently discovered coffee paper garland and went bananas over the idea. I have no idea where I first spotted it but once I did, I began to see it everywhere. I knew I wanted to make my own but also wanted to do something different with it for Valentine’s Day. My original plan was to make a giant strand of the garland and hang it in the shape of a heart.
I still maintain that idea rocks, but here’s what happened.
- I have no wall large enough to accommodate the size that bad boy would have been.
- Once I started making the garland, despite it being super easy, I ran out of patience to make enough to make that giant heart. I had too many other things going on and totally threw in the towel.
So I decided to just do the regular garland and hang it where I typically hang our Christmas garland above our sliders.
It’s really easy to make the coffee filter garland (or coffee filter wreath in my case) and requires just a few inexpensive materials.
Coffee Filter Wreath (or Garland) Materials
- Standard Round White Coffee Filters (I used 2 packs of 200 filters which cost about $3 total)
- Bowls
- Water
- Food Coloring
- Needle
- Thread, string or ribbon of your choice
- Wreath form of some sort (if you go the wreath route)
Add water and food coloring to your bowl(s). I added 2-3 drops of red for a lighter pink in one bowl and about 10 drops in the other for a darker pink. (I’ve also seen pretty versions of this garland with dyed white filters mixed with the natural brown ones.)
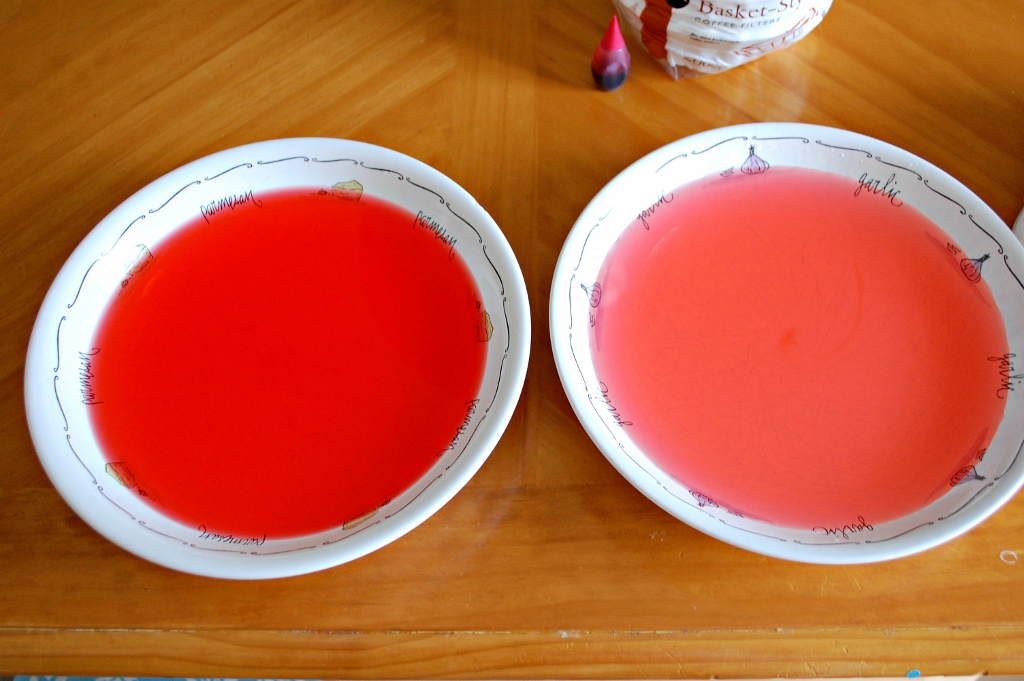
I added a stack of 5 or so filters at a time to each bowl so that they would soak up the dye quickly. #impatient The longer you leave them in, the more saturated the color will become. I wanted mine fairly light which totally worked with my impatience. You should probably use plastic gloves to protect your hands from the dye, especially if you added a lot of food coloring, but I didn’t and my hands didn’t pick up any of the dye.
I squeezed the bejeezus out of each soaked stack to remove as much liquid as possible before stacking them on a paper plate. They’re stronger than you’d think so they don’t tear easily like regular paper would.
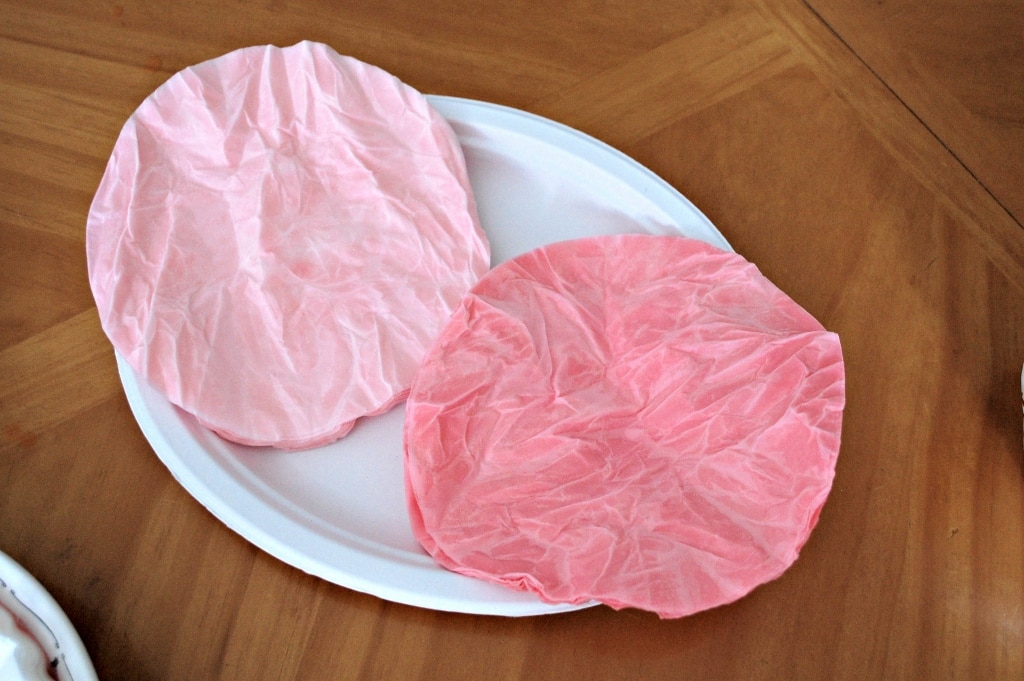
Once all of the filters were dyed and wrung out, I put them in the oven at 250° for about 30 minutes to dry them out. I scattered smaller stacks all over the oven racks to speed up the process.
They come out of the oven rather crispy, but not brittle. And I did scorch about 10 filters but that was no big deal. I had a few too close to the oven door so I’ll be more careful next time.
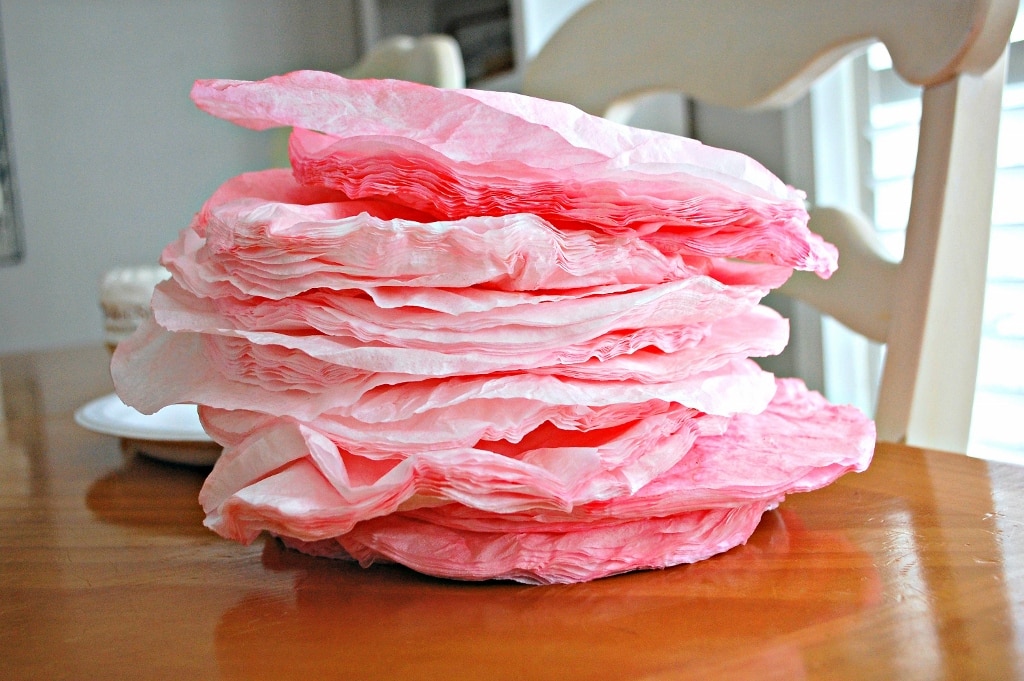
I used pink yarn I had on hand threaded on a giant upholstery needle. You could use a smaller needle or even forgo the needle by using something else to poke holes in the center of each filter and pushing the yarn or string through, but that would certainly take a bit longer.
I alternated the small stacks of the different shades of pink.
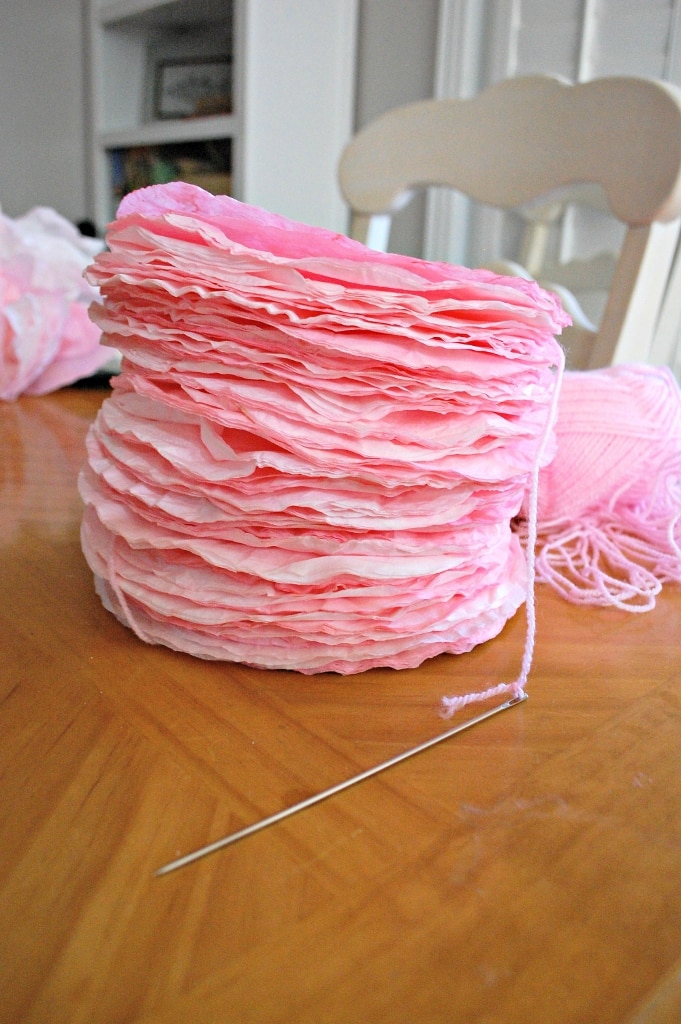
Once the entire batch was threaded, I took 3-5 filters at a time and crumpled them up. And I mean crumpled like, a distressed writer in the movies, crumples. After crumpling, I opened them back up and separated each one. I feel like I’m not saying that right but it was very easy.
Crumple, uncrumple, pull apart.
I hung it up, realized I’d need at least double the length and decided I could suck up one more batch with the help of my 3-year old and 11-year old.
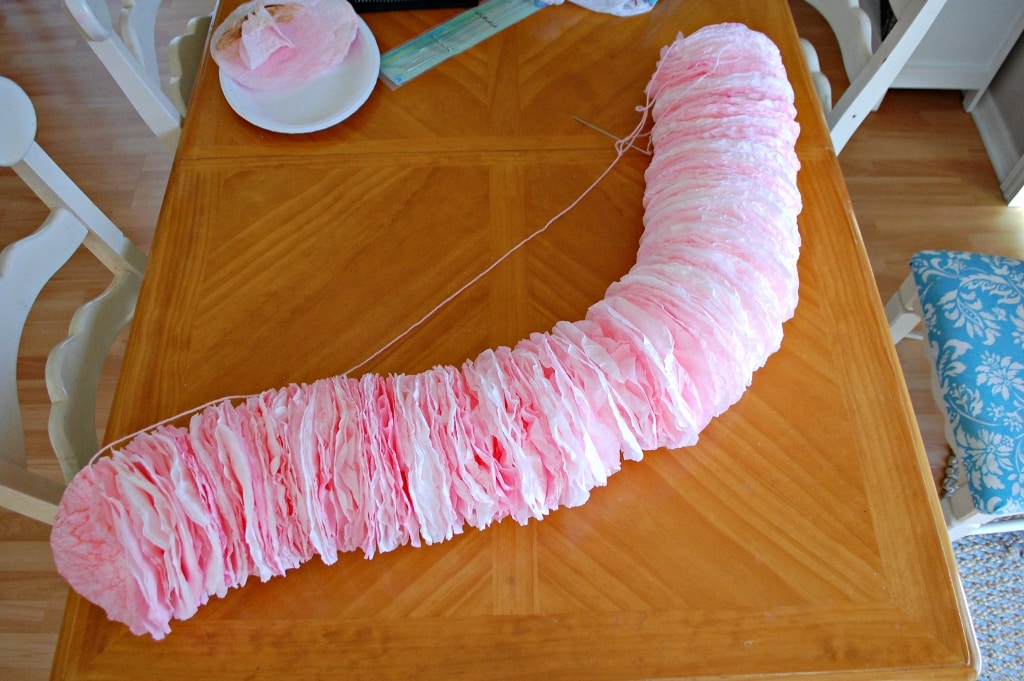
We finished it up but sadly, the garland was still too short to span the sliders. The photo above (which totally looks like a caterpillar and could be used accordingly as such) is the garland with 400 coffee filters. As I laid it on the table trying to muster up the gumption to make more and ignore the 1400 other important items that required my attention, it fell into a half circle.
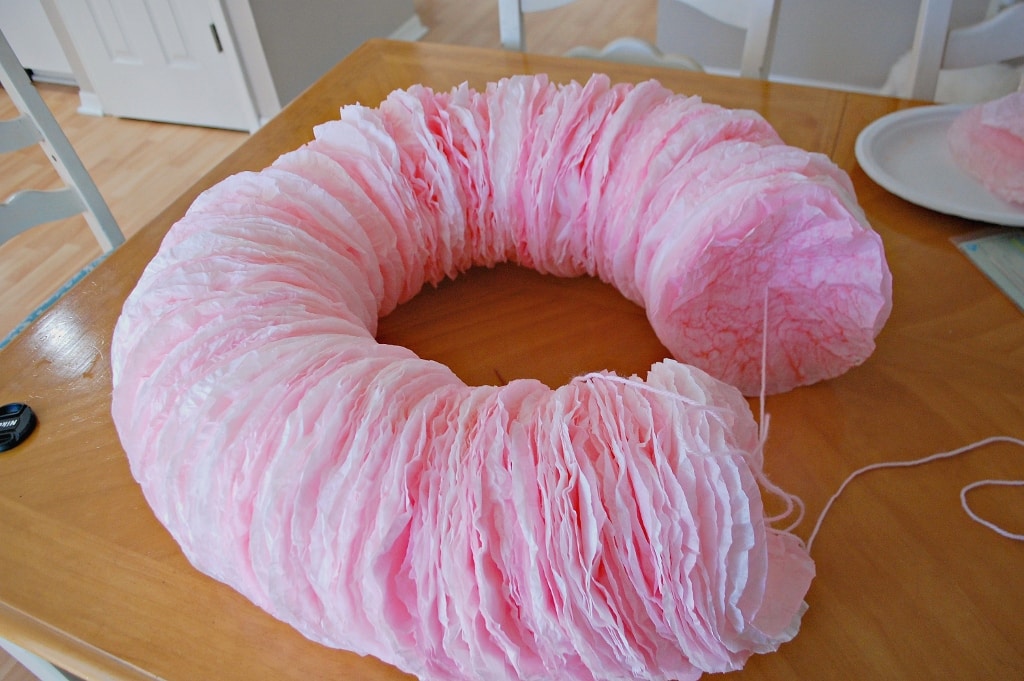
Avery, my 11-year old, said, “It looks like you should hang it on the door!”
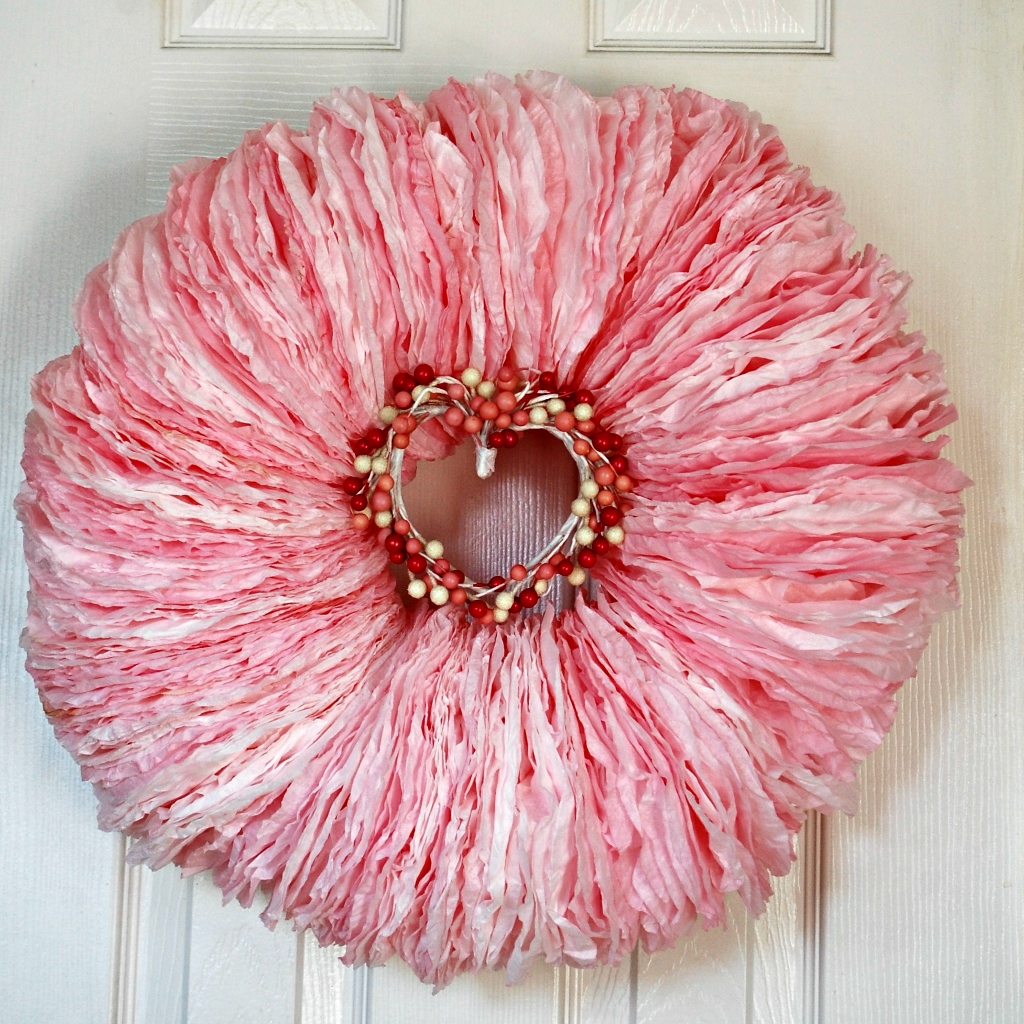
And so the coffee filter wreath was born.
I tied the two ends tightly together and it was perfect.
Until I held it up to hang. Then it looked like an egg. Aha! Another accidental success! After I hang my round version for Valentine’s day, I shall hang the egg version for Easter! Just call me Einstein. Stay tuned for the Easter Egg version…
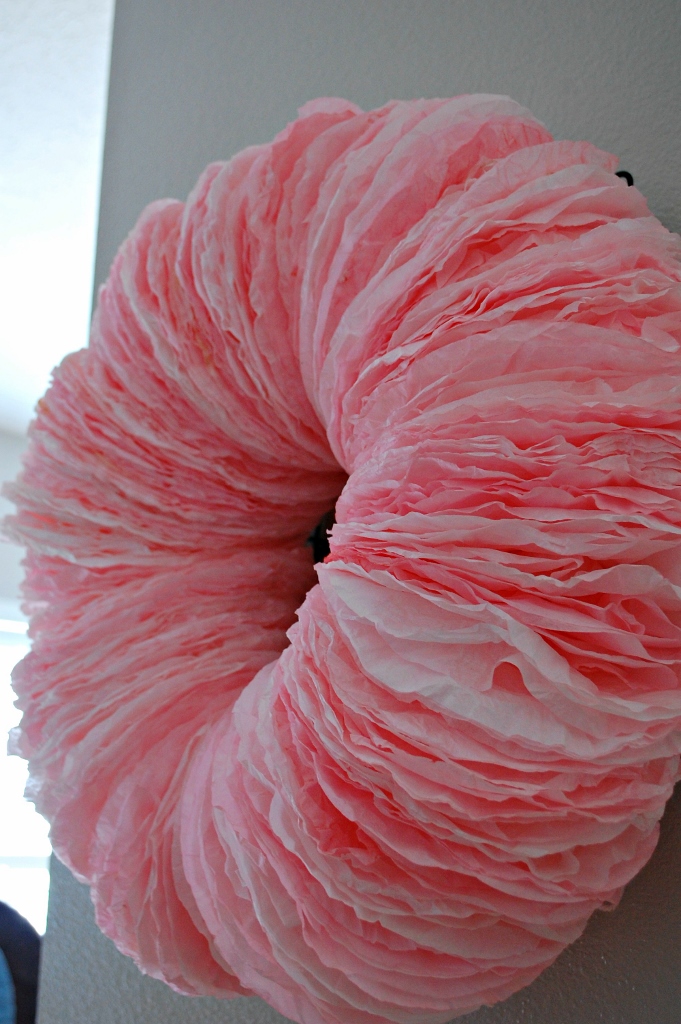
In order to keep it round while hanging, I tied it to the wreath form I salvaged from my fresh Christmas wreath. I only had to tie it in 5 spots to keep it round so it’ll be easy to remove the wreath form to store the garland.
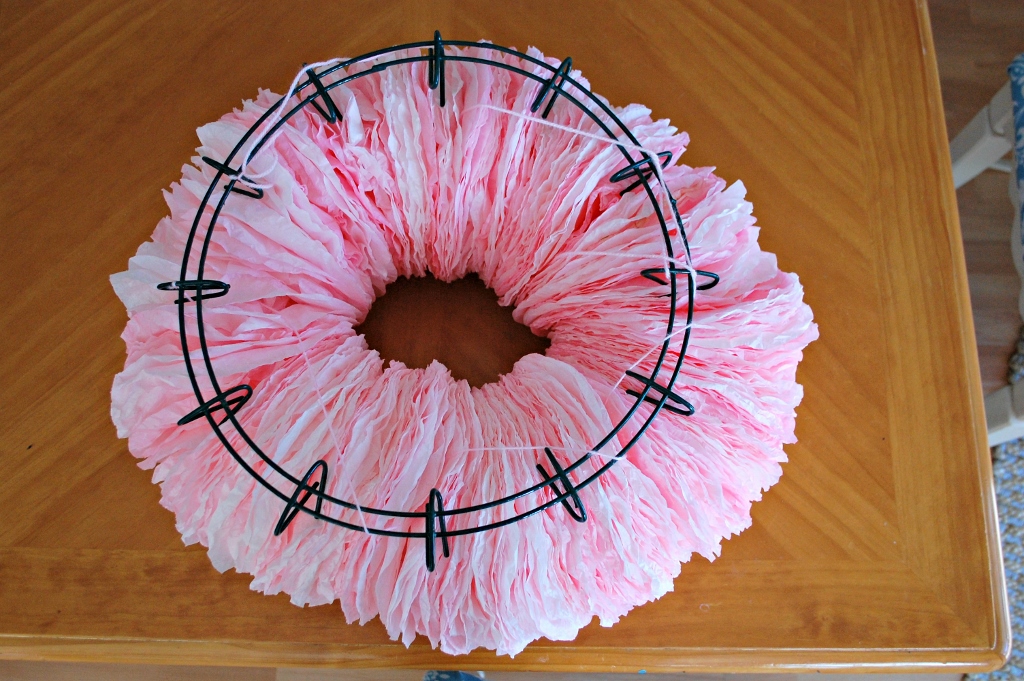
I think it’s way prettier in person (or perhaps if photographed by a better photographer!) but once I hung it up, it was missing something…
I had a little mini heart wreath in my craft stash, which I have zero recollection of ever buying so it must have been a hand me down from my mom or something? Or heck, maybe it was a package topper on a gift from long ago? Seriously, no clue and I scratch my head everytime I see it. I digress.
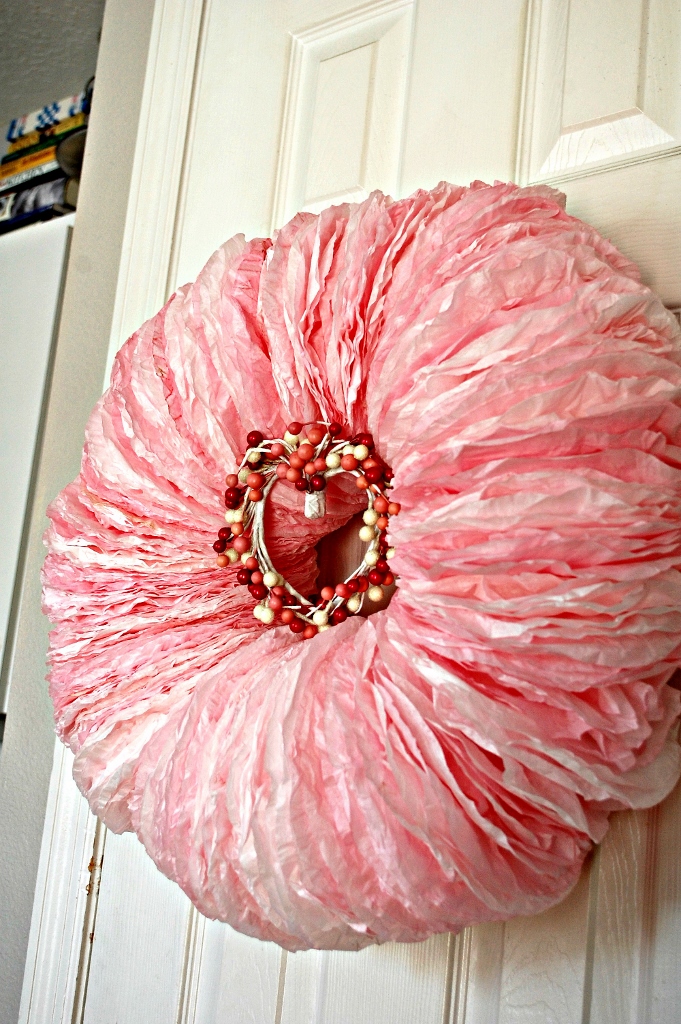
Not bad for a total cost of $3, huh?
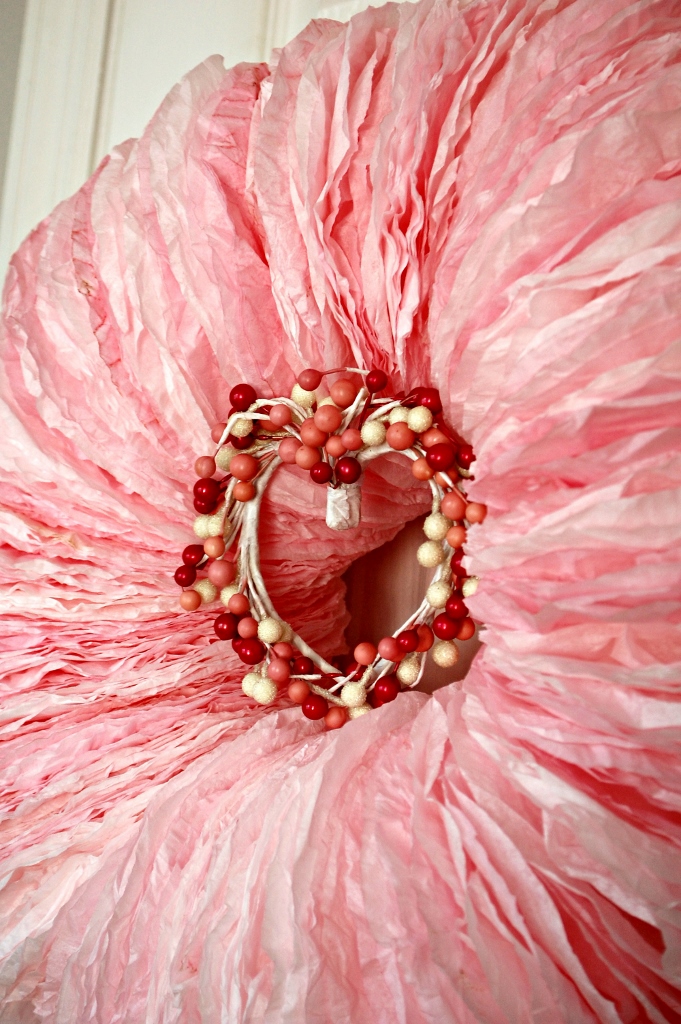
Random fact: the tape on the point of that little heart drives my husband crazy. I seriously could care less but I’m waiting to walk in on him one day hot gluing transplanted beads to cover it up.

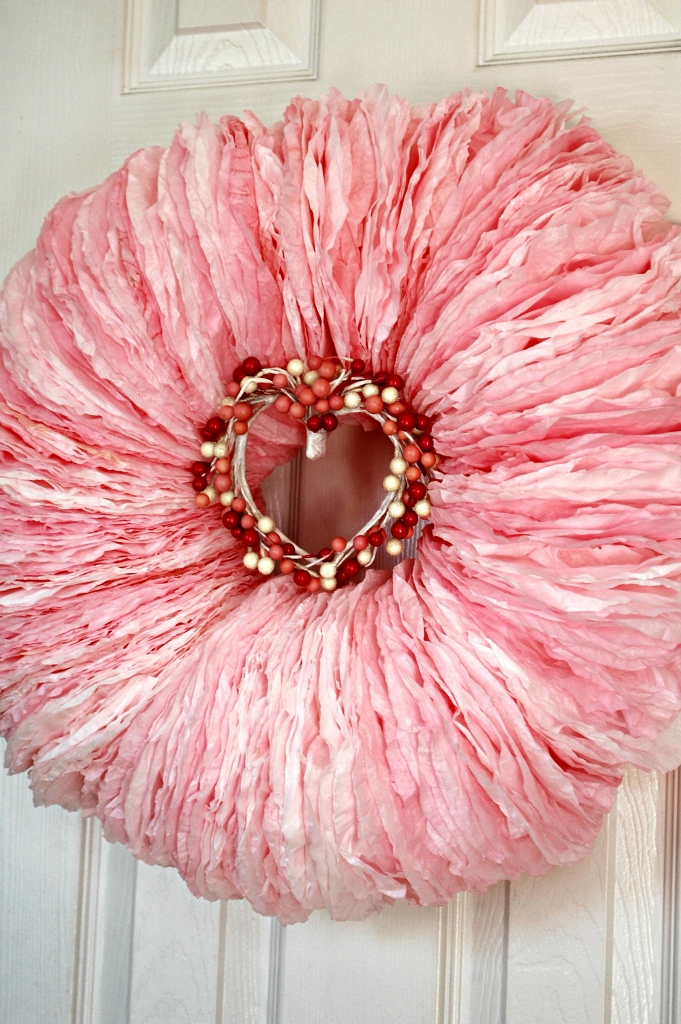
I’m kind of giggling right now because I swore I wouldn’t make anymore wreaths once I made my twine-wrapped initial wreath for all seasons, but apparently I lied to myself. Oops.

If you like any part of this coffee filter garland or coffee filter wreath look, do yourself a favor and Google or search Pinterest for ideas. I’ve seen gorgeous and classy garlands that would work for elegant gatherings or weddings and even coffee filter flower balls (which may or may not be on my to-do list…).
I’ve also seen the garland hung vertically which is a pretty cool look for something unexpected. And one of my favorite bloggers, Jen from IHeartOrganizing, actually used it on her Christmas tree! Hers was all white and actually looks a bit more ruffled and detailed so it’s worth checking out if you want to make one.
Can you think of anything else to do with coffee filters when it comes to decorating? If so, let me know! And if you are looking for more inexpensive DIY Valentine’s Day ideas, see here and here for 2 quick and easy decorating projects I whipped up last year.

Pinterest Party Valentine’s Day Blog Hop
This post is part of the Pinterest Party Valentine’s Day Blog Hop. The Pinterest Party is a group that helps people grow their Pinterest following. Find other posts in this blog hop below:
January 2016
24. Paula Atwell Valentine’s Day Printables for Kids in School
25. Corrinna Johnson http://glitternspice.com/
26. Kara Gilbert https://www.missfrugalfancypants.com/
27. Sylvia Mayfield http://top-kitchen-solutions.com
31. Olivia Morris http://grammieknows.ca/nothing-says-loving-like-something-from-the-oven/
February 2016
- Melissa Vera Adventures of Frugal Mom – http://adventuresfrugalmom.com/doggie-valentine-rawhide-treats/
- Sara Lafountain https://cookwith5kids.com/2016/02/valentines-day-party-and-printable/
- Aysha http://www.addmorecolor-gift-ideas.com/

 Kara is a self-proclaimed Martha Stewart wannabe with the taste of an aristocrat and (thankfully) a penchant for bargains. She hopes to inspire you to live life beautifully and affordably while laughing at her expense along the way.


It’s so pretty, Kara! I’m sure you have the loveliest front door in your neighborhood.
Thanks, Nancy!
I absolutely love this wreath! It looks like an expensive wreath you would buy at Pier One. It turned out really nice and I might even attempt to try it myself on a smaller scale 🙂
Do it!
Very beautiful!
Love it! Very creative and looks like a wreath even I can accomplish!
It was definitely an easy one! The hardest part was waiting for them to dry. 😉
Awesome and clever idea here Kara.
Thanks, Paula! My husband thinks it’s my best craft yet…which totally cracks me up!
Really got my attention. Just a bit different which is why I liked it. Great idea and so.o.o.o.o. cheap, my favorite! LOL!
Yes! I see more coffee filter craft projects in my future…
Absolutely gorgeous! Smart and cheap ornament for the front door. Looks like a high priced item – Might work with other colors for all other holidays.
Yes, I’m definitely converting it to an egg for Easter so stay tuned for that! But I fear I may wind up with so many of these in various colors it’ll look like monster fruit loops attacked my house!
Kara, the wreath idea is great. Gonna give it a try.
Yay! Let me know how it turns out!
I love your accidental wreath. So pretty! Would love if you shared it on our Valentine’s Day blog hop/link party.
Thanks, Erlene! I will go add it now!
Very nicely done….and very easy to do too! I love it!
Thanks, Olivia!